You've made the full journey: setup (P1), communication (P2), configuration (P3), describing the robot (P4), driving hardware (P5), and autonomy (P6). This final part covers three skills that make you productive every day: Simulation (test without a real robot), rosbag2 (record/replay data), and Debug (find bugs fast).
Version (June 2026): ROS 2 Jazzy (Ubuntu 24.04). Important: Gazebo Classic is EOL — use the new Gazebo (Harmonic) with the
gz simcommand. On Jazzy, rosbag2 defaults to the MCAP format.
1. Simulation — test a robot without hardware
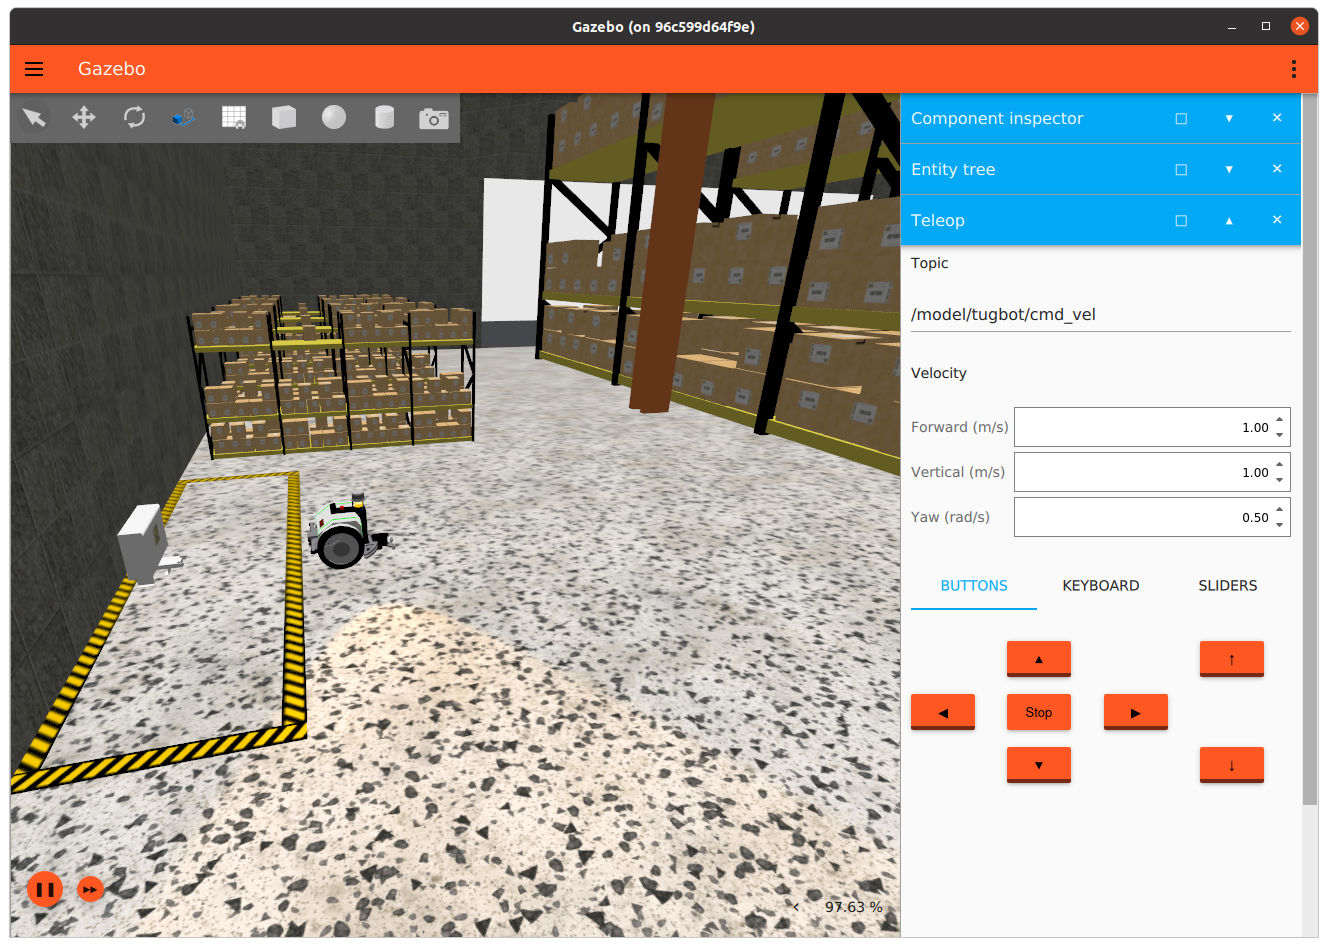
Real robots are expensive and easy to damage while your code still has bugs. Simulation gives you a virtual robot with real physics (gravity, friction, collisions) to test algorithms safely. ROS 2's default simulator is Gazebo (the new version is Harmonic, command gz sim).
Install Gazebo Harmonic + bridge
# New Gazebo + the ROS 2 ↔ Gazebo bridge
sudo apt install -y ros-jazzy-ros-gz

# Verify
gz sim --version
Important note:
gazebo_ros_pkgs(Gazebo Classic) is gone on Jazzy. Every old tutorial usinggazeboorroslaunch gazebo_rosis outdated. The new version is Gazebo Sim (formerly Ignition), installed viaros_gz.
ros_gz bridge — connect ROS 2 with Gazebo
Gazebo and ROS 2 are separate systems. ros_gz_bridge translates messages between them — e.g. feeding /cmd_vel (ROS) into Gazebo, and exposing /scan (a virtual LiDAR in Gazebo) to ROS:
# Bridge the cmd_vel topic: ROS Twist ↔ Gazebo Twist
ros2 run ros_gz_bridge parameter_bridge \
  /cmd_vel@geometry_msgs/msg/[email protected]
In a launch file (the practical way), spawn a robot from URDF into Gazebo:
# launch/sim.launch.py (simplified)
from launch import LaunchDescription
from launch_ros.actions import Node

def generate_launch_description():
    return LaunchDescription([
        # Open Gazebo with an empty world
        # (gz sim -r empty.sdf — run in the background via ros_gz_sim launch)

        # Spawn the robot from /robot_description into Gazebo
        Node(
            package='ros_gz_sim', executable='create',
            arguments=['-topic', 'robot_description', '-name', 'my_robot'],
        ),
        # Bridge the required topics
        Node(
            package='ros_gz_bridge', executable='parameter_bridge',
            arguments=[
                '/cmd_vel@geometry_msgs/msg/[email protected]',
                '/scan@sensor_msgs/msg/[email protected]',
            ],
        ),
    ])
The quickest way to see Nav2 run in sim without building a world yourself: use the pre-packaged demo from Part 6 (nav2-minimal-tb3-sim).
Other sim options (June 2026): Besides Gazebo there's Webots (free, beginner-friendly), NVIDIA Isaac Sim (beautiful graphics, heavily used for AI/RL, needs a strong GPU), and MuJoCo (accurate physics for RL). Beginners should start with Gazebo or Webots for their built-in ROS 2 integration.
2. rosbag2 — the robot's "black box"
rosbag2 records every message on selected topics, then replays them identically later. It's an invaluable tool: run a real robot once, record the data, then replay at home to debug your algorithm hundreds of times without a robot.
# Record ALL topics
ros2 bag record -a -o my_session

# Record only the topics you need
ros2 bag record /scan /odom /cmd_vel -o nav_test

# Inspect the bag
ros2 bag info my_session

# Replay — other nodes receive data as if the robot were live
ros2 bag play my_session

# Replay at 0.5x to observe carefully
ros2 bag play my_session --rate 0.5
New (Jazzy, June 2026): rosbag2 defaults to the MCAP format (replacing the old SQLite) — faster, smaller, readable by many external tools (Foxglove, PlotJuggler). A
.mcapfile opens directly in Foxglove for visual inspection.
Real-world uses of rosbag2:
- Debug rare bugs: the robot occasionally hits a wall — record continuously, and when it happens you have the data to dissect.
- Regression testing: replay the same bag through old and new algorithms to compare.
- Collect AI training data: record sensors + actions as a dataset for imitation learning.
Read a bag in code (Python) for analysis:
# Read a bag with rosbag2_py
import rosbag2_py
from rclpy.serialization import deserialize_message
from sensor_msgs.msg import LaserScan

reader = rosbag2_py.SequentialReader()
reader.open(
    rosbag2_py.StorageOptions(uri='nav_test', storage_id='mcap'),
    rosbag2_py.ConverterOptions('', ''))

while reader.has_next():
    topic, data, t = reader.read_next()
    if topic == '/scan':
        msg = deserialize_message(data, LaserScan)
        print(f'{t}: {len(msg.ranges)} LiDAR rays')
3. Debug — the ROS 2 bug-hunting toolkit
When the robot "just won't run," here's the inspection flow from simple to deep.
CLI — quick checks
# Check the health of the whole ROS 2 system
ros2 doctor

# List running nodes / topics
ros2 node list
ros2 topic list

# Is anyone publishing this topic? At what rate?
ros2 topic hz /scan          # frequency (Hz)
ros2 topic bw /scan          # bandwidth
ros2 topic echo /cmd_vel     # print message contents

# What is this node connected to?
ros2 node info /controller_manager
rqt — graphical tools
# See the node ↔ topic graph (who talks to whom)
rqt_graph

# View colored logs, filter by node/level
ros2 run rqt_console rqt_console

# Plot data over time (e.g. velocity)
ros2 run rqt_plot rqt_plot
rqt_graph is the number-one debug tool for beginners: if a topic isn't connected between two nodes, you see it immediately — usually a wrong topic name or a forgotten remap (covered in Part 3).
Logging in code
Set the log level to print more/less information:
# Python — log levels
self.get_logger().debug('Details only shown when DEBUG is on')
self.get_logger().info('Normal info')
self.get_logger().warn('Warning')
self.get_logger().error('Error')
# Run a node with the DEBUG log level
ros2 run my_pkg my_node --ros-args --log-level debug
A 5-step debug flow for beginners
ros2 node list— is my node running? Not there → build/launch error.ros2 topic list— does the topic exist? No → wrong topic name.ros2 topic hz /topic— is anyone publishing? 0 Hz → dead publisher.ros2 topic echo /topic— are the message contents correct? Wrong → logic bug.rqt_graph— are connections correct? Broken → forgotten remap.
The most common "silent" bug: two nodes publish/subscribe to different topic names (e.g.
/scanvs/laser/scan) → no error, just no data.rqt_graphexposes it instantly.
4. Best tools for ROS 2 (June 2026)
Beyond the three skills above, here's the toolkit professional ROS 2 engineers use daily.
Visualization and data debugging
| Tool | For | When to use |
|---|---|---|
| RViz2 | Live robot debug — TF/URDF/laser | Always open during development — the #1 tool |
| Foxglove Studio | Live debug + .mcap file playback |
When you want a better UI or need to inspect rosbags |
| PlotJuggler | Time-series plots (velocity, PID error) | When you need multi-signal comparison |
| Rerun | Multi-dim viz (3D + logs + timeseries) | AI/RL workflows without ROS dependency |
# Install Foxglove bridge (connects Foxglove Studio to live ROS 2)
sudo apt install -y ros-jazzy-foxglove-bridge

# Run the bridge
ros2 launch foxglove_bridge foxglove_bridge_launch.xml

# Open foxglove.dev/app → WebSocket → ws://localhost:8765
Build and workspace management
# colcon — ROS 2's primary build tool
colcon build --symlink-install                    # build everything
colcon build --packages-select my_pkg            # build one package
colcon build --cmake-args -DCMAKE_EXPORT_COMPILE_COMMANDS=1  # for clangd IDE

# rosdep — auto-install dependencies from package.xml
rosdep install --from-paths src --ignore-src -r -y

# vcstool — manage multiple git repos in one workspace
vcs import src < my_robot.repos
vcs pull src  # update all
IDE — VS Code with ROS extension
Install two VS Code extensions:
- ROS (
ms-iot.vscode-ros) — syntax highlighting, colcon build task, launch debug - clangd — proper C++ IntelliSense for
rclcpp(needscompile_commands.json)
High-quality reference repositories
Learn from real code, not just documentation:
- dottantgal/ROS2_learning — The most complete C++ & Python example set for Jazzy: nodes, timers, topics, services, actions, parameters, plugins, TF2 — all paired in both languages. Clone the
jazzybranch. - MOGI-ROS/Week-1-2-Introduction-to-ROS2 — University course for Jazzy, with slides and code.
- ros2/examples — Official ROS 2 minimal examples (publisher/subscriber/service C++ & Python).
# Clone and run examples from ROS2_learning immediately
git clone -b jazzy https://github.com/dottantgal/ROS2_learning.git
cd ROS2_learning && colcon build --symlink-install
source install/setup.bash
ros2 run ros2_cpp_examples minimal_publisher
ROS 2 A to Z series wrap-up
Across 7 parts, you went from zero to a battle-ready ROS 2 skill set:
| Part | What you learned |
|---|---|
| P1 | Install Jazzy, first publisher/subscriber node |
| P2 | Topics, Services, Actions |
| P3 | Parameters, Launch, Lifecycle |
| P4 | TF2, URDF, RViz2 |
| P5 | ros2_control, C++ hardware interface |
| P6 | Nav2 — autonomous navigation |
| P7 | Simulation, rosbag2, Debug |
Your next step? Pick a small project — say a diff-drive AMR in Gazebo running Nav2 — and put it all together. When you get stuck, return to the matching part. Learning ROS 2 isn't about reading it all, it's about building something that runs. Happy building!
Related Articles
- ROS 2 A to Z (P6): Nav2 — Autonomous Navigation — Run Nav2 in the sim from this part
- ROS 2 A to Z (P1): Setup and First Node — Back to the start
- Introduction to ROS 2: Next-Generation Robot Programming Framework — ROS 2 architecture overview