Từ Zero đến Deployed Manipulation Policy
Đây là bài cuối của series Robot Manipulation Masterclass. Sau 6 bài lý thuyết và phân tích, bài này là hands-on tutorial hoàn chỉnh: từ unbox robot đến deploy policy chạy trên robot thật.
Mình sẽ dùng LeRobot -- open-source library của Hugging Face (arXiv:2602.22818) -- vì nó tích hợp toàn bộ pipeline: hardware control, data collection, training, evaluation, và deployment. Không cần ghép 5 repos khác nhau.
Mục tiêu: dạy robot arm thực hiện pick-and-place task (nhặt vật và đặt vào hộp) với 50 demonstrations và ACT policy.
Xem LeRobot hands-on trong AI for Robotics series để biết thêm về LeRobot ecosystem.

Bước 1: Hardware Setup
Chọn robot arm
| Robot | DoF | Giá | LeRobot support | Recommendation |
|---|---|---|---|---|
| SO-100 (Hugging Face) | 5+1 | ~300 USD | Native | Best cho beginners |
| Koch v1.1 | 6+1 | ~500 USD | Native | Tốt, nhiều DoF hơn |
| WidowX 250 (Trossen) | 6+1 | ~3,500 USD | Community | Research-grade |
| Franka Emika | 7+1 | ~30,000 USD | Community | Industry-grade |
Recommendation: bắt đầu với SO-100 (~300 USD, 2 arms cho leader-follower). Rẻ nhất, được Hugging Face support trực tiếp, và đủ tốt cho học manipulation cơ bản.
Bill of Materials (SO-100)
SO-100 Kit (mỗi arm):
  - 6x Dynamixel STS3215 servos: ~180 USD
  - 3D printed parts: ~20 USD (file STL miễn phí)
  - Screws, wires, USB adapter: ~30 USD
  - Camera (Logitech C920): ~70 USD

Total cho leader-follower setup: ~600 USD (2 arms + 1 camera)
Total cho bimanual: ~1,200 USD (4 arms + 2 cameras)
Assembly và wiring
# 1. In 3D parts (PLA, 0.2mm layer height)
# Download STL từ: github.com/huggingface/lerobot/blob/main/hardware/

# 2. Assemble theo video guide
# https://github.com/huggingface/lerobot/blob/main/examples/10_use_so100.md

# 3. Connect servos (daisy chain)
# Servo 1 (base) -> Servo 2 (shoulder) -> ... -> Servo 6 (gripper)
# USB2Dynamixel adapter -> PC

# 4. Set servo IDs (quan trọng!)
python -m lerobot.scripts.configure_motor --port=/dev/ttyUSB0 --brand=feetech
Bước 2: Cài đặt LeRobot
System requirements
- OS: Ubuntu 22.04+ (recommended) hoặc macOS
- Python: 3.10+
- GPU: NVIDIA RTX 3060+ (cho training). CPU đủ cho inference
- RAM: 16GB+
- Disk: 50GB+ (cho datasets)
Installation
# 1. Tạo virtual environment
conda create -n lerobot python=3.10
conda activate lerobot

# 2. Cài PyTorch (CUDA 12.1)
pip install torch torchvision --index-url https://download.pytorch.org/whl/cu121

# 3. Cài LeRobot
pip install lerobot

# 4. Verify
python -c "import lerobot; print(lerobot.__version__)"
Kết nối robot
# Kiểm tra USB connection
ls /dev/ttyUSB*  # Nên thấy /dev/ttyUSB0

# Calibrate (chỉ cần làm 1 lần)
python -m lerobot.scripts.calibrate \
    --robot.type=so100 \
    --robot.arms='["main_leader", "main_follower"]' \
    --robot.cameras='["top"]'

# Test teleoperation (leader -> follower)
python -m lerobot.scripts.teleoperate \
    --robot.type=so100
Khi chạy teleoperate, di chuyển leader arm -> follower arm phải copy chính xác. Nếu không, kiểm tra lại servo IDs và calibration.
Bước 3: Thu Data (Record Demonstrations)
Chuẩn bị workspace
Camera setup:
  [Logitech C920] -- đặt trên tripod, nhìn xuống workspace
        |
        v
  +-------------------+
  |    Workspace       |
  |  [Object]  [Box]  |
  |    [Robot arm]     |
  +-------------------+
Tips workspace:
- Background đơn giản: màu trắng hoặc đen, tránh pattern phức tạp
- Ánh sáng đều: tránh bóng, tránh ánh sáng thay đổi
- Object nổi bật: chọn vật thể màu sắc tương phản với background
- Vị trí cố định: camera và box ở cùng vị trí mỗi episode
Record episodes
# Record 50 demonstrations
python -m lerobot.scripts.record \
    --robot.type=so100 \
    --fps=50 \
    --repo-id=my_pick_and_place \
    --num-episodes=50 \
    --task="Pick the object and place it in the box" \
    --warmup-time-s=3 \
    --episode-time-s=20 \
    --reset-time-s=10

# Workflow mỗi episode:
# 1. [Warmup 3s] - đặt vật thể ở vị trí random
# 2. [Recording 20s] - teleoperate: nhặt + đặt
# 3. [Reset 10s] - trả vật thể về vị trí mới

Kiểm tra data quality
# Replay episode để kiểm tra
python -m lerobot.scripts.replay \
    --robot.type=so100 \
    --repo-id=my_pick_and_place \
    --episode=0

# Visualize dataset statistics
python -m lerobot.scripts.visualize_dataset \
    --repo-id=my_pick_and_place
Loại bỏ episodes xấu: nếu episode nào bị giật, chậm, hoặc không hoàn thành task -> xóa trước khi train. 40 episodes tốt hơn 50 episodes có 10 cái xấu.
Data augmentation (optional)
# Image augmentation trong LeRobot config
training:
  image_transforms:
    brightness:
      weight: 1.0
      min_max: [0.8, 1.2]
    contrast:
      weight: 1.0
      min_max: [0.8, 1.2]
    saturation:
      weight: 1.0
      min_max: [0.8, 1.2]
    hue:
      weight: 1.0
      min_max: [-0.05, 0.05]
    sharpness:
      weight: 1.0
      min_max: [0.8, 1.2]
Bước 4: Train Policy
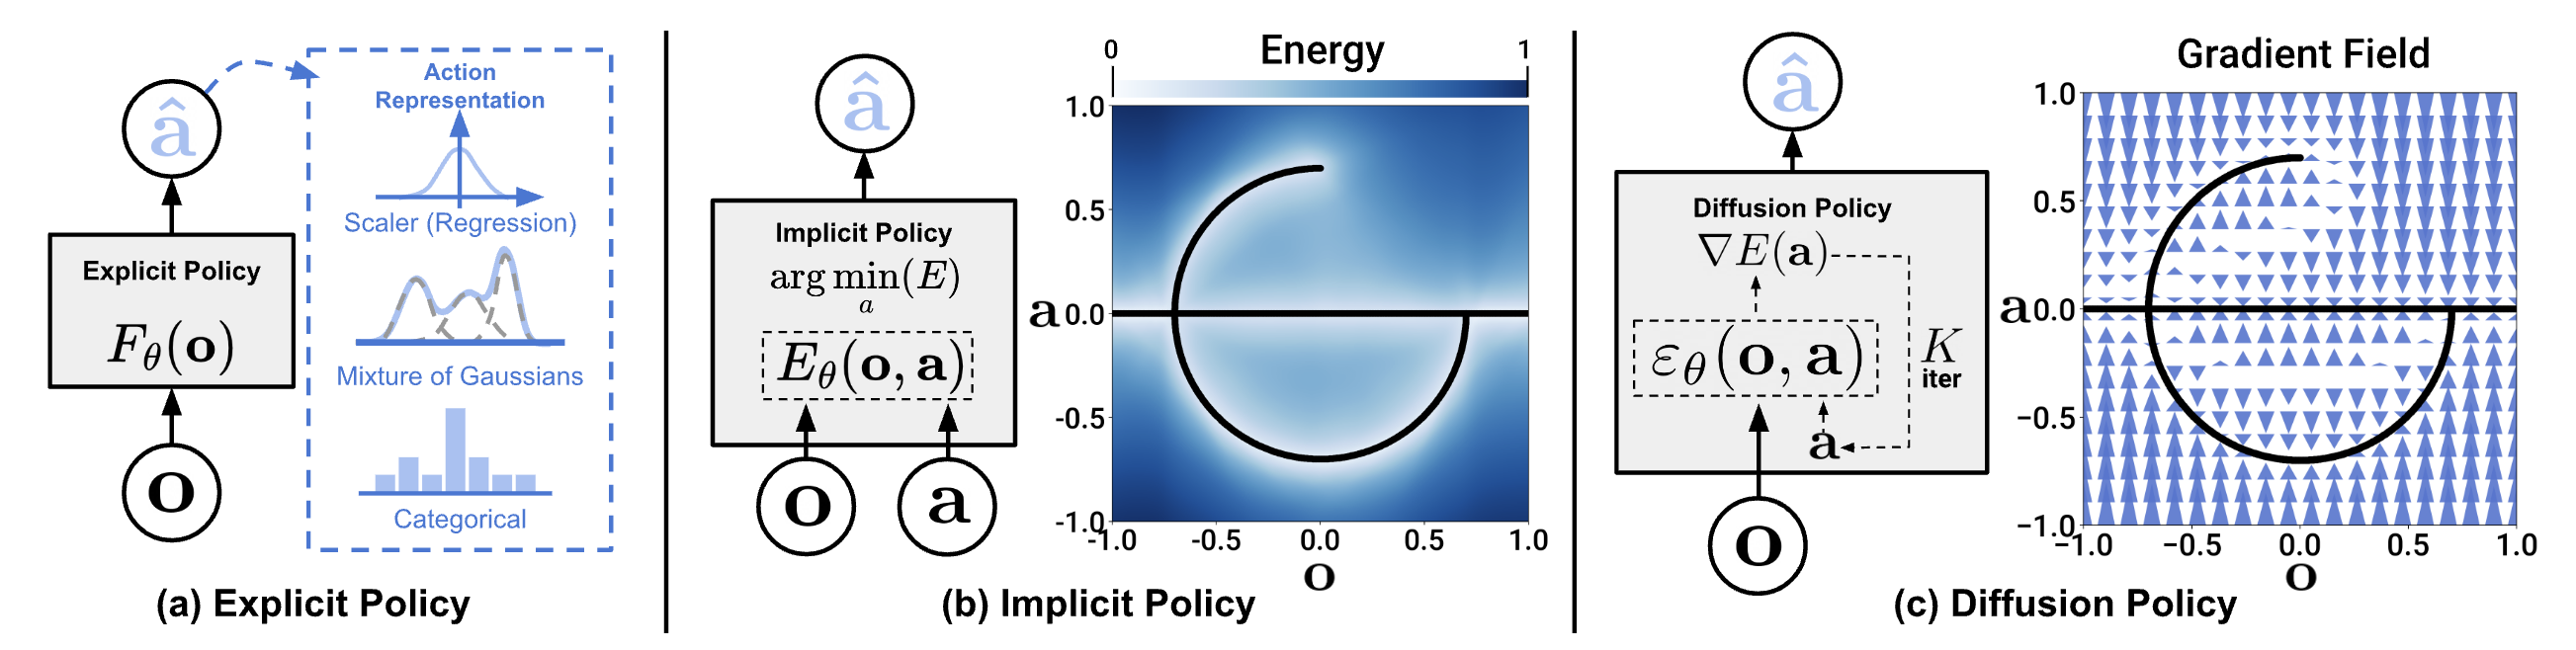
Chọn policy: ACT vs Diffusion
Cho pick-and-place task với 50 demos, ACT là lựa chọn tốt nhất:
- Data efficient (50 demos là đủ)
- Train nhanh (2-4h)
- Inference nhanh (~5ms)
# Train ACT
python -m lerobot.scripts.train \
    --policy.type=act \
    --dataset.repo_id=my_pick_and_place \
    --training.num_epochs=2000 \
    --training.batch_size=8 \
    --training.lr=1e-5 \
    --policy.chunk_size=50 \
    --policy.n_obs_steps=1 \
    --policy.kl_weight=10 \
    --training.eval_freq=500 \
    --output_dir=outputs/pick_and_place_act
Monitor training
# Xem training logs bằng tensorboard
tensorboard --logdir=outputs/pick_and_place_act

# Hoặc xem terminal output
# Key metrics:
# - loss: nên giảm dần, converge sau ~1000 epochs
# - eval/success_rate: (nếu có sim eval) nên tăng dần
# - kl_loss: nên stable, không tăng quá
Training timeline (RTX 4090)
| Phase | Thời gian | Notes |
|---|---|---|
| Data loading | 1-2 min | Cached sau lần đầu |
| Epoch 1-500 | ~30 min | Loss giảm nhanh |
| Epoch 500-1500 | ~1.5h | Loss giảm chậm, bắt đầu converge |
| Epoch 1500-2000 | ~1h | Fine-tuning, marginal improvement |
| Total | ~3h | Trên 50 demos, batch_size=8 |
Khi nào dùng Diffusion Policy?
Chuyển sang Diffusion Policy khi:
- ACT đạt < 70% success rate và bạn nghĩ nguyên nhân là multimodal actions
- Task phức tạp hơn (long-horizon, nhiều bước)
- Có 100+ demos
# Train Diffusion Policy (thay đổi policy.type)
python -m lerobot.scripts.train \
    --policy.type=diffusion \
    --dataset.repo_id=my_pick_and_place \
    --training.num_epochs=5000 \
    --training.batch_size=64 \
    --policy.n_action_steps=8 \
    --policy.num_inference_steps=10
Bước 5: Evaluate
Sim evaluation (nếu có)
# Evaluate trong simulation (ALOHA sim)
python -m lerobot.scripts.eval \
    --policy.path=outputs/pick_and_place_act/checkpoints/last/pretrained_model \
    --env.type=aloha \
    --env.task=AlohaTransferCube-v0 \
    --eval.n_episodes=50 \
    --eval.batch_size=10
Real robot evaluation
# Evaluate trên robot thật
python -m lerobot.scripts.eval \
    --policy.path=outputs/pick_and_place_act/checkpoints/last/pretrained_model \
    --robot.type=so100 \
    --eval.n_episodes=20

# Robot sẽ tự động thực hiện task
# Bạn chỉ cần:
# 1. Đặt vật thể ở vị trí random
# 2. Nhấn Start
# 3. Quan sát và ghi nhận success/failure
# 4. Reset và lặp lại
Metrics để theo dõi
| Metric | Target | Cách đo |
|---|---|---|
| Success rate | >80% | Thành công / Tổng số episodes |
| Completion time | <15s | Từ bắt đầu đến đặt vật vào hộp |
| Grasp success | >90% | Nhặt được vật / Tổng số nhặt |
| Placement accuracy | <2cm | Khoảng cách từ vật đến target |
Bước 6: Deploy và Iterate
Deploy checklist
[ ] Policy file: outputs/.../pretrained_model/
[ ] Camera calibration: dùng camera và vị trí như khi train
[ ] Workspace: giống training (background, lighting)
[ ] Safety: workspace bounds, emergency stop accessible
[ ] Latency test: inference < 20ms (50Hz control)
Troubleshooting
Policy không nhặt được vật:
- Kiểm tra camera angle -- có giống lúc thu data không?
- Thử replay một episode -- robot có reproduce được không?
- Kiểm tra action scale -- có bị clip không?
Robot chậm hơn lúc demo:
- Tăng inference frequency (giảm batch overhead)
- Check USB latency (dùng USB 3.0)
- Giảm image resolution (320x240 thay vì 640x480)
Success rate thấp (<50%):
- Thu thêm data (thêm 20-30 demos mới)
- Loại bỏ demos xấu
- Tăng training epochs (3000-5000)
- Thử Diffusion Policy thay ACT
Iterate: cải thiện liên tục
Vòng lặp cải thiện:
1. Deploy policy v1 -> đo success rate
2. Phân tích failure cases (tại sao thất bại?)
3. Thu thêm demos cho những cases khó
4. Re-train (co-training data cũ + data mới)
5. Deploy policy v2 -> đo lại
6. Lặp lại cho đến khi đạt target
Thường cần 3-5 iterations để đạt từ 60% -> 90% success rate. Mỗi iteration thêm 10-20 targeted demos.
Tổng kết Series
Qua 7 bài, mình đã cover toàn bộ manipulation pipeline:
| Part | Chủ đề | Key takeaway |
|---|---|---|
| 1 | Grasping | Analytical (force closure) vs Learning (Contact-GraspNet) |
| 2 | Imitation Learning | BC -> DAgger -> ACT, data quality là tất cả |
| 3 | Diffusion Policy | DDPM cho actions, multimodal handling, DDIM cho real-time |
| 4 | VLA Models | RT-2 (reasoning), Octo (open-source), pi0 (continuous) |
| 5 | Dexterous | Multi-finger hands, tactile sensing, RL + sim-to-real |
| 6 | Bimanual | ALOHA hardware, ACT for bimanual, co-training |
| 7 | Deployment | LeRobot end-to-end: setup -> record -> train -> deploy |
Roadmap cho người mới
Tháng 1: Setup SO-100, làm pick-and-place với ACT (bài 1, 2, 7)
Tháng 2: Thử Diffusion Policy, so sánh với ACT (bài 3)
Tháng 3: Fine-tune Octo cho multi-task (bài 4)
Tháng 4: Bimanual setup, co-training (bài 6)
Tháng 5+: Dexterous hands, tactile sensing (bài 5)
Resources tổng hợp
- LeRobot: github.com/huggingface/lerobot -- Main repo
- LeRobot paper: arXiv:2602.22818
- ALOHA paper: arXiv:2304.13705
- Diffusion Policy: arXiv:2303.04137
- Open X-Embodiment: robotics-transformer-x.github.io
- LeRobot Discord: community hỗ trợ, hỏi đáp
Bài viết liên quan
- Bimanual Manipulation: Dạy robot dùng 2 tay -- Part 6 series này
- LeRobot hands-on: Xây dựng pipeline học robot -- LeRobot trong AI series
- Diffusion Policy thực hành: Từ lý thuyết đến code -- Training chi tiết
- Sim-to-Real Transfer: Train simulation, chạy thực tế -- Kết hợp sim với real deployment