unifolm-vla + Unitree G1 (Post 2): collecting data with xr_teleoperate + Meta Quest 3
This is post 2 of the unifolm-vla + Unitree G1 series. The previous post explained the overall architecture. This post: how to collect high-quality teleoperation data on a real G1 with Meta Quest 3.
Data is the backbone of VLA. Data quality determines policy quality. With 50 good demos, a VLA can learn simple pick-and-place. With 50 bad demos, no amount of training can fix it.
Why teleoperation?
VLA needs demonstration data — video + robot joint state sequences of a human performing the task. Scripted paths don't work because:
- Generalization: VLA needs to see natural variation (slightly different grip angles, object positions slightly off, etc.)
- Language grounding: each demo has a language instruction ("pick up the red cup") → VLA learns the mapping from language → action
- Natural motion: human motion has smoothness that scripted paths lack → smoother policy
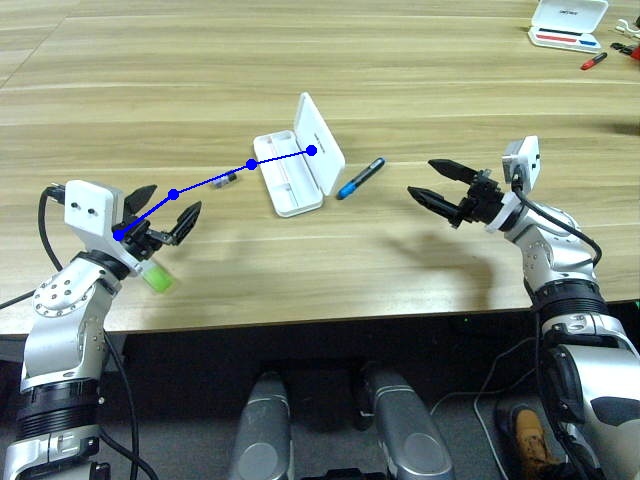
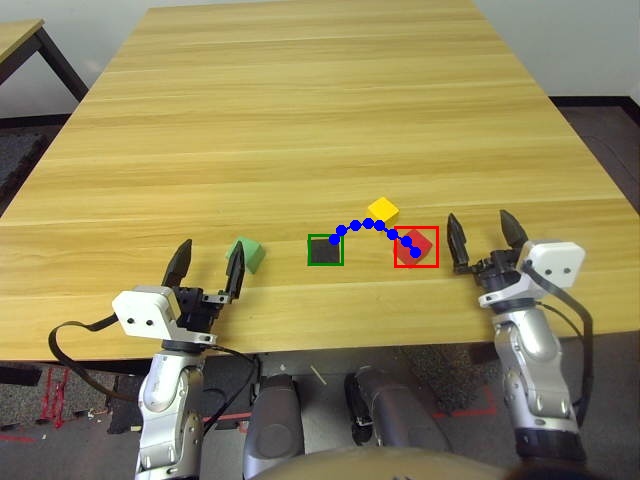
VR headset teleoperation is the most effective method today: the operator sees through the robot's cameras in the headset and uses VR controllers to move the robot arms 1:1.
Required equipment
Headset options
| Headset | Price (USD) | Latency | Tracking | Notes |
|---|---|---|---|---|
| Meta Quest 3 | ~$500 | ~40ms | Good | Recommended — best value |
| PICO 4 Ultra | ~$400 | ~45ms | Good | Popular in Asia |
| Apple Vision Pro | ~$3,500 | ~30ms | Excellent | Best quality, most expensive |
This series uses Meta Quest 3 as the example. PICO 4 Ultra has a similar setup.
Hardware checklist
[ ] Unitree G1 with Dex3 hands (3-finger dexterous)
[ ] Meta Quest 3 (fully charged before demos)
[ ] PC/workstation on Ubuntu 20.04 or 22.04 (conda ready)
[ ] LAN cable from workstation to G1 (NO WiFi)
[ ] Intel RealSense D435 camera mounted on G1 wrist
[ ] Demo area: 70-80cm table, no obstacles within 1m of G1
[ ] Demo object (e.g., red plastic cup) stable on table
Installing xr_teleoperate
Step 1: Clone and create environment
cd ~/unifolm_ws
git clone https://github.com/unitreerobotics/xr_teleoperate.git
cd xr_teleoperate

conda create -n xr_teleop python=3.10
conda activate xr_teleop
pip install -r requirements.txt

# Install Unitree SDK
pip install unitree_sdk2py
Step 2: Install Quest Link on headset
On Meta Quest 3:
- Enable Developer Mode (Settings → Meta Quest Link → Developer)
- Connect Quest 3 to the same WiFi network as the PC (or use USB-C Link)
- Install SteamVR on PC if using SteamVR mode
Or use AirLink (wireless, ~45ms latency vs ~40ms with cable).
Step 3: Verify G1 connection
conda activate xr_teleop

# Check network interface connected to G1
ip addr show   # find LAN interface connected to G1 (usually eth0 or enp3s0)

python -c "
from unitree_sdk2py.core.channel import ChannelFactory
factory = ChannelFactory.Instance()
factory.Init(0, 'eth0')   # replace with your actual interface
print('G1 connected OK')
"
Setting up the task environment
Set up a consistent demo environment — critical because every demo must be consistent:
                    [D435 camera on G1 wrist]
                           ↓ looking down
┌─────────────────────────────────────┐
│                                     │
│     🔴  [Red cup]    📦 [Box]        │  ← Table at 70cm height
│                                     │
└─────────────────────────────────────┘
         [G1 stands here]
Rules for quality demos:
- Fixed positions: mark object positions with tape. Reset to same position each demo.
- Even lighting: avoid changing shadows — use fixed white LED lights.
- Clean background: solid-color table surface (avoid busy patterns that confuse the VLM).
- No people in camera frame during recording.
Recording the first demo
Run teleoperation
cd xr_teleoperate
conda activate xr_teleop

# Test in sim first (NO real robot)
python teleop_hand_and_arm.py --ee=dex3 --sim --record

# Once verified, run with real robot
python teleop_hand_and_arm.py --ee=dex3 --record
Key flags:
--ee=dex3— use with G1 Dex3 hands (3-finger dexterous)--sim— simulation mode (no real robot, use to test first)--record— enable data recording
Controls in Meta Quest 3
In the headset you see:
- Camera feed from G1 (you're "inside the robot")
- Your Quest 3 hand controllers = robot hands (1:1)

Keyboard controls (on workstation):
  s      = start / stop recording one demo
  q      = quit script
  r      = reset arm to home position
  space  = emergency stop

Quest 3 controller:
  Trigger = gripper control (hold = close, release = open)
  Joystick = not used (locomotion is separate)
Flow for recording one demo
1. Press s → terminal shows: "Recording started: demo_0001"
2. Perform task: pick up red cup → place in box
3. Press s → terminal shows: "Recording stopped. Saved: demo_0001 (87 frames, 5.8s)"
4. Reset objects to starting position
5. Repeat from step 1
Output files
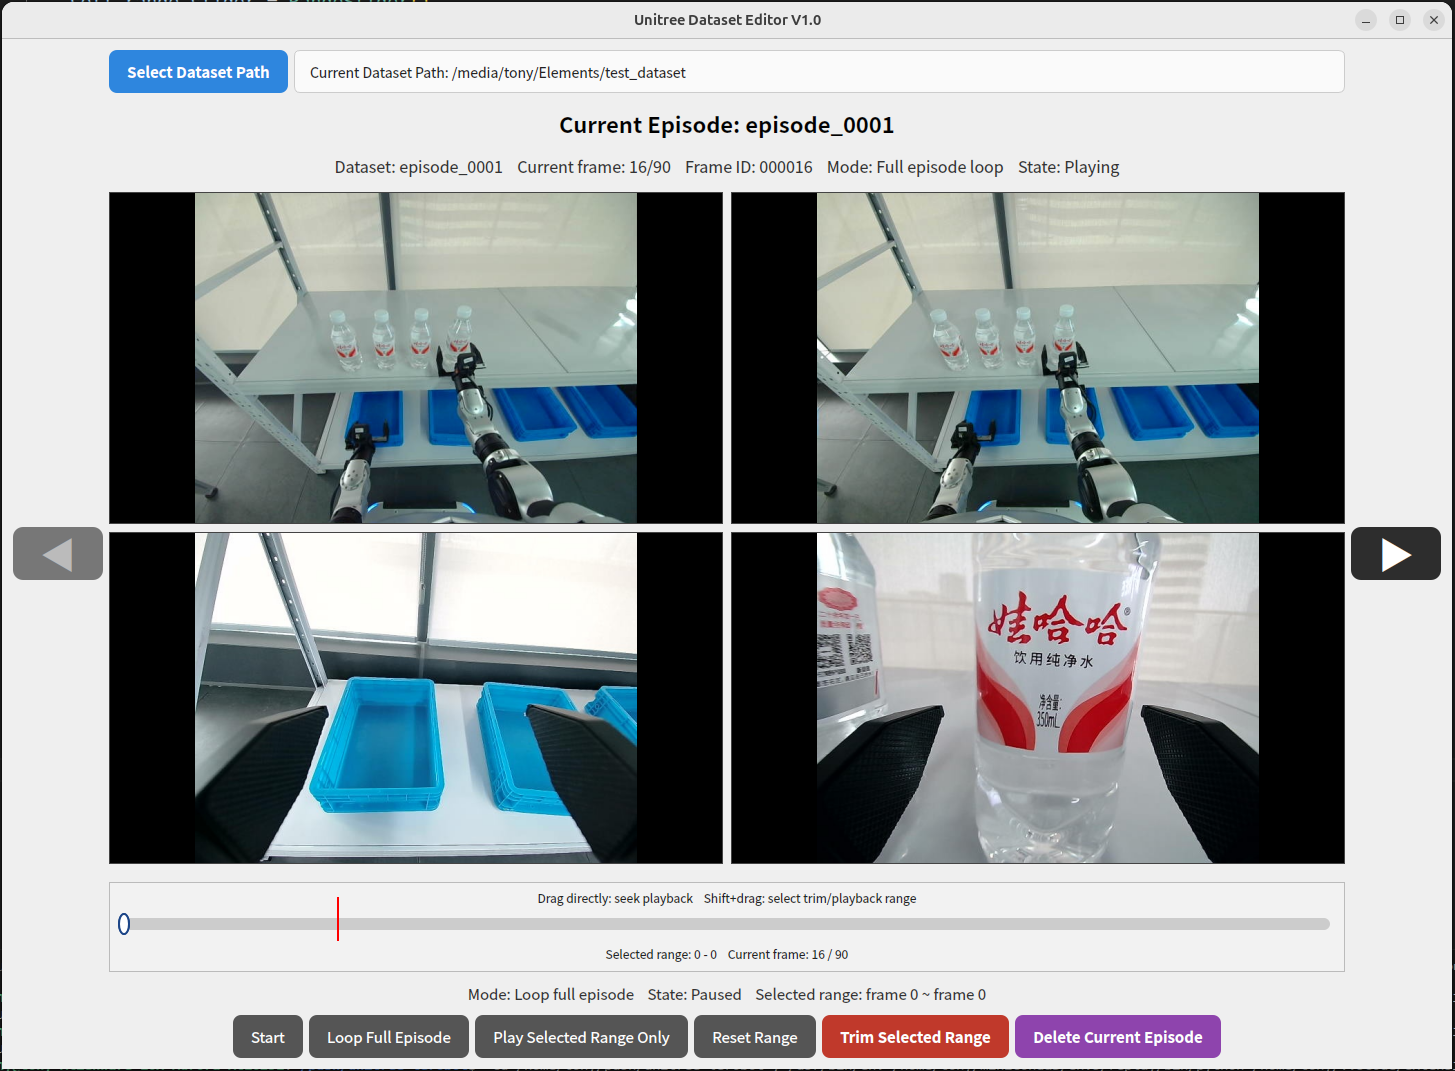
Data is saved to:
xr_teleoperate/teleop/utils/data/
├── demo_0001/
│   ├── obs/
│   │   ├── left_wrist_rgb.mp4     # left wrist camera video
│   │   ├── right_wrist_rgb.mp4    # right wrist camera video
│   │   └── head_rgb.mp4           # head camera (if available)
│   ├── actions.json               # joint commands over time
│   └── metadata.json              # task info, timestamp, robot config
├── demo_0002/
│   └── ...
└── dataset_config.json
Data collection strategy
How many demos?
| Task | Minimum | Recommended |
|---|---|---|
| Simple pick-place (1 object, 1 position) | 30 | 50-80 |
| Pick-place with variation (multiple positions) | 80 | 120-200 |
| Pour liquid | 100 | 200+ |
| Multi-step task | 150 | 300+ |
Tips for high-quality demos
1. Consistent but with natural variation:
❌ Bad: every demo IDENTICAL (robot will overfit)
❌ Bad: every demo TOO DIFFERENT (robot can't find pattern)
✅ Good: object position shifts 2-5cm naturally, arm speed varies slightly
2. Clean start and end:
✅ Before pressing s: arm at home position, task not started
✅ After task complete: hold still 1-2 seconds then press s
❌ Bad: start recording while arm is already moving
3. Handling failed demos:
If you drop the object or make a mistake during recording:
- Press
sto stop recording → that demo is discarded - Do NOT include failed demos in training data
4. Variation distribution:
# In 50 demos, aim for:
- 50% object at "standard" position
- 30% object shifted left/right by 3-5cm
- 20% object shifted near/far by 2-4cm

# Don't:
- Shift more than 10cm — too hard to generalize
- Rotate object more than 45° — increases difficulty unnecessarily for first attempts
Verify data after collection
cd xr_teleoperate
conda activate xr_teleop

# Check dataset statistics
python scripts/dataset_stats.py --data_dir teleop/utils/data/

# Expected output:
# Total demos: 52
# Valid demos: 50
# Discarded: 2 (too short < 2s)
# Mean demo length: 5.8s ± 1.2s
# Mean frames per demo: 87
# Camera coverage: left_wrist=100%, right_wrist=100%, head=0%

# Replay a demo to check visually
python scripts/replay_demo.py --demo teleop/utils/data/demo_0001/
Checklist before moving to next step
[ ] At least 50 valid demos (> 2 seconds each)
[ ] No corrupt demos (checked with dataset_stats.py)
[ ] Video without frame drops (stable frame rate)
[ ] actions.json has all joints (7+7+2+2 = 28 joints for G1 Dex3)
[ ] Task instruction written in metadata.json
Common troubleshooting
Quest 3 won't connect to script
# Check AirLink is active
# On Quest 3: Quick Settings → AirLink → toggle ON
# Then rerun script

# If still failing, use USB-C Link cable instead of AirLink
Robot arm not responding
# Check SDK version
python -c "import unitree_sdk2py; print(unitree_sdk2py.__version__)"

# Check network interface
ping 192.168.123.1   # G1 default IP

# Restart G1 communication
# (power cycle G1, wait 30 seconds, then rerun)
High latency (>80ms) making teleoperation hard
- Prioritize LAN cable over WiFi
- If using WiFi: ensure same 5GHz access point, no thick walls between Quest 3 and router
- Close all background apps on workstation
Next: Data pipeline — converting JSON to RLDS for training.
References
- xr_teleoperate GitHub
- unitree_IL_lerobot GitHub
- TeleVision paper (arxiv:2407.01512) — original VR teleoperation architecture