Deploy YOLOv8 to Jetson Orin Nano — Why Does It Matter?
Deploying YOLOv8 to Jetson Orin Nano is the critical step for bringing AI perception from your laptop into real robots. If you are building mobile robots, drones, or quality inspection systems, you need real-time inference directly on the edge device — you cannot afford to wait for round-trip latency to the cloud at 200ms per frame.
In this tutorial, I will walk you through everything from A to Z: hardware setup, model export, TensorRT optimization, building a camera pipeline with GStreamer, and finally wrapping it as a ROS 2 node ready to run on your robot.

Prerequisites — What Do You Need?
Hardware
| Device | Notes |
|---|---|
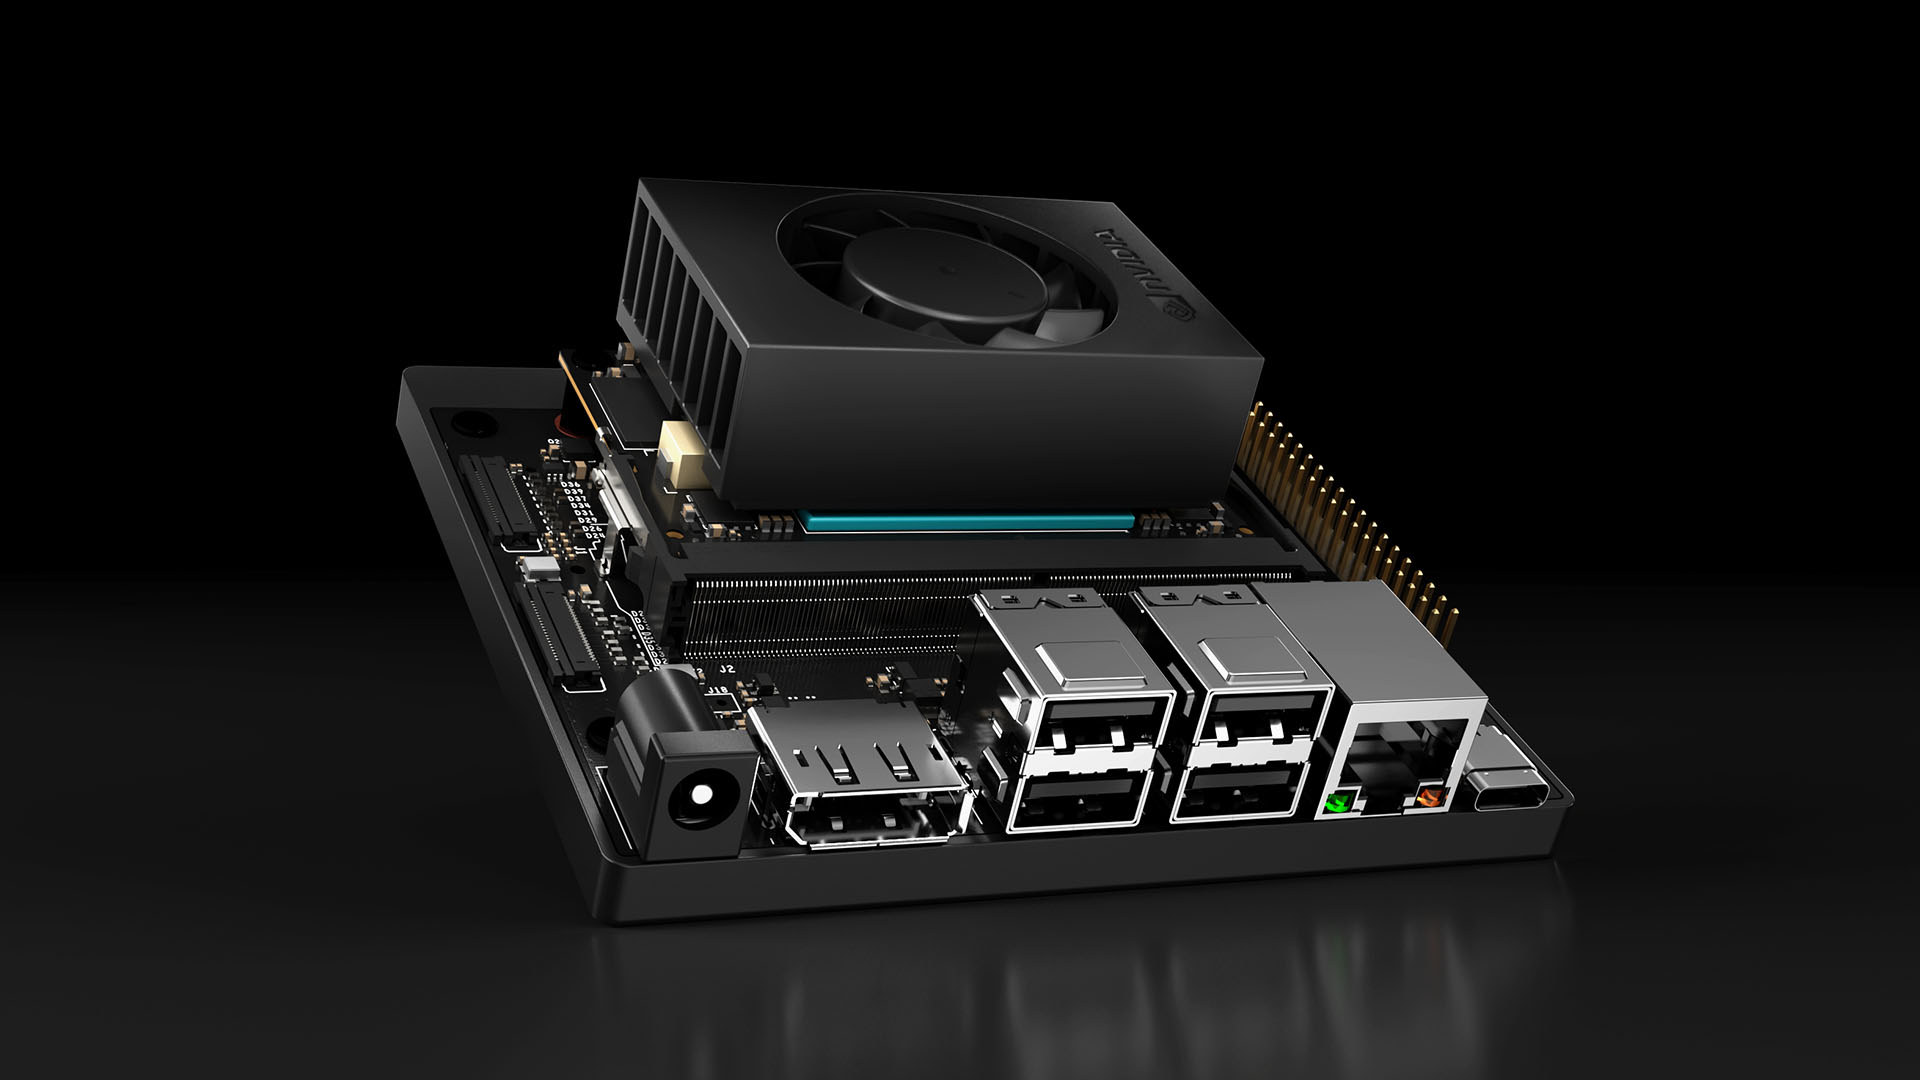
| NVIDIA Jetson Orin Nano 8GB | Developer Kit or module + carrier board |
| MicroSD 64GB+ (UHS-I) | Or NVMe SSD for better performance |
| USB camera or CSI camera | Logitech C920 or IMX219 CSI |
| 5V/4A USB-C power supply | Included with Dev Kit |
Software
- JetPack 6.0+ (L4T R36.x) — includes CUDA 12.2, cuDNN 8.9, TensorRT 8.6
- Python 3.10+
- Ultralytics (YOLOv8 framework)
# Install JetPack (if not flashed)
sudo apt update && sudo apt install -y nvidia-jetpack

# Verify CUDA
nvcc --version
# cuda_12.2.r12.2/compiler.33191640_0

# Install Ultralytics
pip3 install ultralytics

# Verify PyTorch + CUDA
python3 -c "import torch; print(f'CUDA: {torch.cuda.is_available()}, Device: {torch.cuda.get_device_name(0)}')"
# CUDA: True, Device: Orin (nvgpu)
Step 1: Export YOLOv8 to TensorRT Engine
This is the most critical step. TensorRT will optimize the model for the Ampere GPU on Orin Nano, including layer fusion, kernel auto-tuning, and precision calibration.
Export FP16 (Recommended)
from ultralytics import YOLO

# Load pretrained model (or your custom trained model)
model = YOLO("yolov8n.pt")  # nano version, optimized for edge

# Export to TensorRT FP16
# This process takes 5-10 minutes on Orin Nano
model.export(
    format="engine",
    device=0,
    half=True,        # FP16 precision
    imgsz=640,        # Input resolution
    workspace=4,      # GB workspace for TensorRT optimizer
    verbose=True
)
print("Export done! File: yolov8n.engine")
Export INT8 (Maximum FPS)
INT8 requires a calibration dataset — a set of 200-500 images representative of real-world data:
from ultralytics import YOLO

model = YOLO("yolov8n.pt")

# Export INT8 with calibration
model.export(
    format="engine",
    device=0,
    int8=True,
    data="coco128.yaml",  # Dataset for calibration
    imgsz=640,
    workspace=4
)
Important Note: The .engine file is built specific to each GPU architecture. An engine built on Orin Nano will not run on RTX 4090 and vice versa. Always export directly on your target device.
Step 2: Benchmark — FP32 vs FP16 vs INT8
I benchmarked on Jetson Orin Nano 8GB, power mode MAXN (15W), with jetson_clocks enabled:
| Format | Model | FPS (640x640) | Latency | mAP@50 | GPU Memory |
|---|---|---|---|---|---|
| PyTorch FP32 | yolov8n | 15 FPS | 67ms | 37.3 | 1.2GB |
| TensorRT FP32 | yolov8n | 32 FPS | 31ms | 37.3 | 680MB |
| TensorRT FP16 | yolov8n | 58 FPS | 17ms | 37.2 | 420MB |
| TensorRT INT8 | yolov8n | 72 FPS | 14ms | 36.8 | 310MB |
| PyTorch FP32 | yolov8s | 8 FPS | 125ms | 44.9 | 2.1GB |
| TensorRT FP16 | yolov8s | 35 FPS | 29ms | 44.8 | 780MB |
Conclusion: FP16 is the sweet spot — nearly 4x speedup over PyTorch with almost no accuracy loss. Use INT8 only when you need >60 FPS or running multiple models simultaneously.
# Quick benchmark on Jetson
yolo benchmark model=yolov8n.engine imgsz=640 half=True device=0
Step 3: Complete Python Inference Script
"""
YOLOv8 TensorRT Inference on Jetson Orin Nano
Optimized for real-time robot perception
"""
import cv2
import time
import numpy as np
from ultralytics import YOLO
from collections import deque

class JetsonDetector:
    def __init__(self, model_path: str = "yolov8n.engine", conf: float = 0.5):
        self.model = YOLO(model_path)
        self.conf = conf
        self.fps_buffer = deque(maxlen=30)

    def detect(self, frame: np.ndarray) -> list[dict]:
        """Detect objects and return list of detections."""
        start = time.perf_counter()

        results = self.model.predict(
            frame,
            conf=self.conf,
            verbose=False,
            half=True
        )

        elapsed = time.perf_counter() - start
        self.fps_buffer.append(1.0 / elapsed)

        detections = []
        for box in results[0].boxes:
            det = {
                "class_id": int(box.cls[0]),
                "class_name": results[0].names[int(box.cls[0])],
                "confidence": float(box.conf[0]),
                "bbox": box.xyxy[0].cpu().numpy().tolist(),  # [x1, y1, x2, y2]
            }
            detections.append(det)

        return detections

    @property
    def fps(self) -> float:
        return np.mean(self.fps_buffer) if self.fps_buffer else 0.0


# --- Main ---
if __name__ == "__main__":
    detector = JetsonDetector("yolov8n.engine", conf=0.45)
    cap = cv2.VideoCapture(0)
    cap.set(cv2.CAP_PROP_FRAME_WIDTH, 1280)
    cap.set(cv2.CAP_PROP_FRAME_HEIGHT, 720)

    while True:
        ret, frame = cap.read()
        if not ret:
            break

        detections = detector.detect(frame)

        # Draw bounding boxes
        for det in detections:
            x1, y1, x2, y2 = map(int, det["bbox"])
            label = f'{det["class_name"]} {det["confidence"]:.2f}'
            cv2.rectangle(frame, (x1, y1), (x2, y2), (0, 255, 0), 2)
            cv2.putText(frame, label, (x1, y1 - 10),
                        cv2.FONT_HERSHEY_SIMPLEX, 0.6, (0, 255, 0), 2)

        # FPS overlay
        cv2.putText(frame, f"FPS: {detector.fps:.1f}", (10, 30),
                     cv2.FONT_HERSHEY_SIMPLEX, 1, (0, 0, 255), 2)

        cv2.imshow("YOLOv8 Jetson", frame)
        if cv2.waitKey(1) & 0xFF == ord('q'):
            break

    cap.release()
    cv2.destroyAllWindows()
Step 4: Camera Pipeline with GStreamer
USB cameras work through OpenCV, but CSI cameras need a GStreamer pipeline for hardware-accelerated decoding on Jetson. This is also the optimal approach for USB cameras.
CSI Camera (IMX219/IMX477)
def gstreamer_pipeline(
    sensor_id=0,
    capture_width=1280,
    capture_height=720,
    display_width=1280,
    display_height=720,
    framerate=60,
    flip_method=0,
):
    """Build GStreamer pipeline string for CSI camera on Jetson."""
    return (
        f"nvarguscamerasrc sensor-id={sensor_id} ! "
        f"video/x-raw(memory:NVMM), width=(int){capture_width}, "
        f"height=(int){capture_height}, framerate=(fraction){framerate}/1 ! "
        f"nvvidconv flip-method={flip_method} ! "
        f"video/x-raw, width=(int){display_width}, height=(int){display_height}, "
        f"format=(string)BGRx ! videoconvert ! "
        f"video/x-raw, format=(string)BGR ! appsink drop=1"
    )

# Usage
cap = cv2.VideoCapture(gstreamer_pipeline(), cv2.CAP_GSTREAMER)
USB Camera (Optimized with V4L2)
def usb_gstreamer_pipeline(device="/dev/video0", width=1280, height=720, fps=30):
    """GStreamer pipeline for USB camera, decode on GPU."""
    return (
        f"v4l2src device={device} ! "
        f"video/x-raw, width={width}, height={height}, framerate={fps}/1 ! "
        f"videoconvert ! video/x-raw, format=BGR ! appsink drop=1"
    )

cap = cv2.VideoCapture(usb_gstreamer_pipeline(), cv2.CAP_GSTREAMER)
Multi-camera Setup
# Run 2 cameras in parallel
cap_left = cv2.VideoCapture(gstreamer_pipeline(sensor_id=0), cv2.CAP_GSTREAMER)
cap_right = cv2.VideoCapture(gstreamer_pipeline(sensor_id=1), cv2.CAP_GSTREAMER)

# Or use threading to avoid blocking
import threading

class CameraThread:
    def __init__(self, pipeline):
        self.cap = cv2.VideoCapture(pipeline, cv2.CAP_GSTREAMER)
        self.frame = None
        self.running = True
        self.thread = threading.Thread(target=self._update, daemon=True)
        self.thread.start()

    def _update(self):
        while self.running:
            ret, self.frame = self.cap.read()

    def read(self):
        return self.frame

    def stop(self):
        self.running = False
        self.cap.release()

Step 5: Deploy as ROS 2 Node
This is the final step — wrap the detector as a ROS 2 node to integrate into your robot stack.
"""
ROS 2 YOLOv8 Detection Node for Jetson Orin Nano
Publish detections to /yolo/detections topic
"""
import rclpy
from rclpy.node import Node
from sensor_msgs.msg import Image
from vision_msgs.msg import Detection2DArray, Detection2D, ObjectHypothesisWithPose
from cv_bridge import CvBridge
import cv2
import numpy as np
from ultralytics import YOLO


class YoloDetectionNode(Node):
    def __init__(self):
        super().__init__("yolo_detection_node")

        # Parameters
        self.declare_parameter("model_path", "yolov8n.engine")
        self.declare_parameter("confidence", 0.5)
        self.declare_parameter("input_topic", "/camera/image_raw")

        model_path = self.get_parameter("model_path").value
        self.conf = self.get_parameter("confidence").value
        input_topic = self.get_parameter("input_topic").value

        # Load TensorRT model
        self.model = YOLO(model_path)
        self.bridge = CvBridge()

        # Subscriber & Publisher
        self.sub = self.create_subscription(
            Image, input_topic, self.image_callback, 10
        )
        self.pub = self.create_publisher(Detection2DArray, "/yolo/detections", 10)
        self.img_pub = self.create_publisher(Image, "/yolo/annotated", 10)

        self.get_logger().info(
            f"YOLOv8 node started — model: {model_path}, conf: {self.conf}"
        )

    def image_callback(self, msg: Image):
        # Convert ROS Image -> OpenCV
        frame = self.bridge.imgmsg_to_cv2(msg, "bgr8")

        # Inference
        results = self.model.predict(frame, conf=self.conf, verbose=False, half=True)

        # Build Detection2DArray message
        det_array = Detection2DArray()
        det_array.header = msg.header

        for box in results[0].boxes:
            det = Detection2D()
            x1, y1, x2, y2 = box.xyxy[0].cpu().numpy()

            # Bounding box (center + size format)
            det.bbox.center.position.x = float((x1 + x2) / 2)
            det.bbox.center.position.y = float((y1 + y2) / 2)
            det.bbox.size_x = float(x2 - x1)
            det.bbox.size_y = float(y2 - y1)

            # Classification result
            hyp = ObjectHypothesisWithPose()
            hyp.hypothesis.class_id = str(int(box.cls[0]))
            hyp.hypothesis.score = float(box.conf[0])
            det.results.append(hyp)

            det_array.detections.append(det)

        self.pub.publish(det_array)

        # Publish annotated image (optional, for visualization)
        annotated = results[0].plot()
        self.img_pub.publish(self.bridge.cv2_to_imgmsg(annotated, "bgr8"))


def main(args=None):
    rclpy.init(args=args)
    node = YoloDetectionNode()
    rclpy.spin(node)
    node.destroy_node()
    rclpy.shutdown()


if __name__ == "__main__":
    main()
Launch File
# launch/yolo_detection.launch.py
from launch import LaunchDescription
from launch_ros.actions import Node

def generate_launch_description():
    return LaunchDescription([
        Node(
            package="yolo_perception",
            executable="yolo_node",
            name="yolo_detection",
            parameters=[{
                "model_path": "/opt/models/yolov8n.engine",
                "confidence": 0.5,
                "input_topic": "/camera/image_raw",
            }],
            output="screen",
        ),
    ])
# Build and run
cd ~/ros2_ws
colcon build --packages-select yolo_perception
source install/setup.bash
ros2 launch yolo_perception yolo_detection.launch.py
Additional Optimization Tips
Power Management
# MAXN mode (15W) — maximum performance
sudo nvpmodel -m 0
sudo jetson_clocks

# Check temperature (throttle at 80°C)
cat /sys/devices/virtual/thermal/thermal_zone*/temp
# Divide by 1000 to get °C
GPU Pre-processing
# Use cv2.cuda instead of CPU resize
gpu_frame = cv2.cuda_GpuMat()
gpu_frame.upload(frame)
gpu_resized = cv2.cuda.resize(gpu_frame, (640, 640))
frame_resized = gpu_resized.download()
Monitor Resource Usage
# Jetson stats — similar to htop but for Jetson
pip3 install jetson-stats
jtop
Summary
Complete pipeline: Camera → GStreamer → YOLOv8 TensorRT → ROS 2 topic — all running at 58+ FPS on Jetson Orin Nano 8GB with FP16. Fast enough for mobile robots, drones, and industrial quality inspection systems.
Key takeaways:
- Always use TensorRT FP16 as baseline — this is the best default
- GStreamer pipeline for CSI cameras — hardware decode, no CPU overhead
- ROS 2 node to integrate into robot stack — publish standard Detection2DArray
- Monitor temperature — Jetson throttles at 80°C, needs good cooling
Related Articles
- Edge AI with NVIDIA Jetson: Deploy AI on Embedded Devices — Jetson series overview and TensorRT optimization
- Computer Vision for Industrial Quality Inspection — YOLO applications in manufacturing
- Introduction to ROS 2 for Beginners — ROS 2 fundamentals to understand the ROS node section