MoveIt2 là gì?
MoveIt2 là framework motion planning phổ biến nhất cho robot arm trong hệ sinh thái ROS 2. Nó giải quyết bài toán: "Làm sao di chuyển robot từ cấu hình A đến cấu hình B mà không va chạm?". Thay vì tự implement inverse kinematics, collision checking, và trajectory optimization từ đầu, MoveIt2 gói gọn tất cả vào một pipeline hoàn chỉnh với Python API dễ sử dụng.
Trong bài viết này, chúng ta sẽ đi qua toàn bộ pipeline: từ mô tả robot bằng URDF, cấu hình MoveIt2, đến lập trình motion planning và pick-and-place bằng Python.

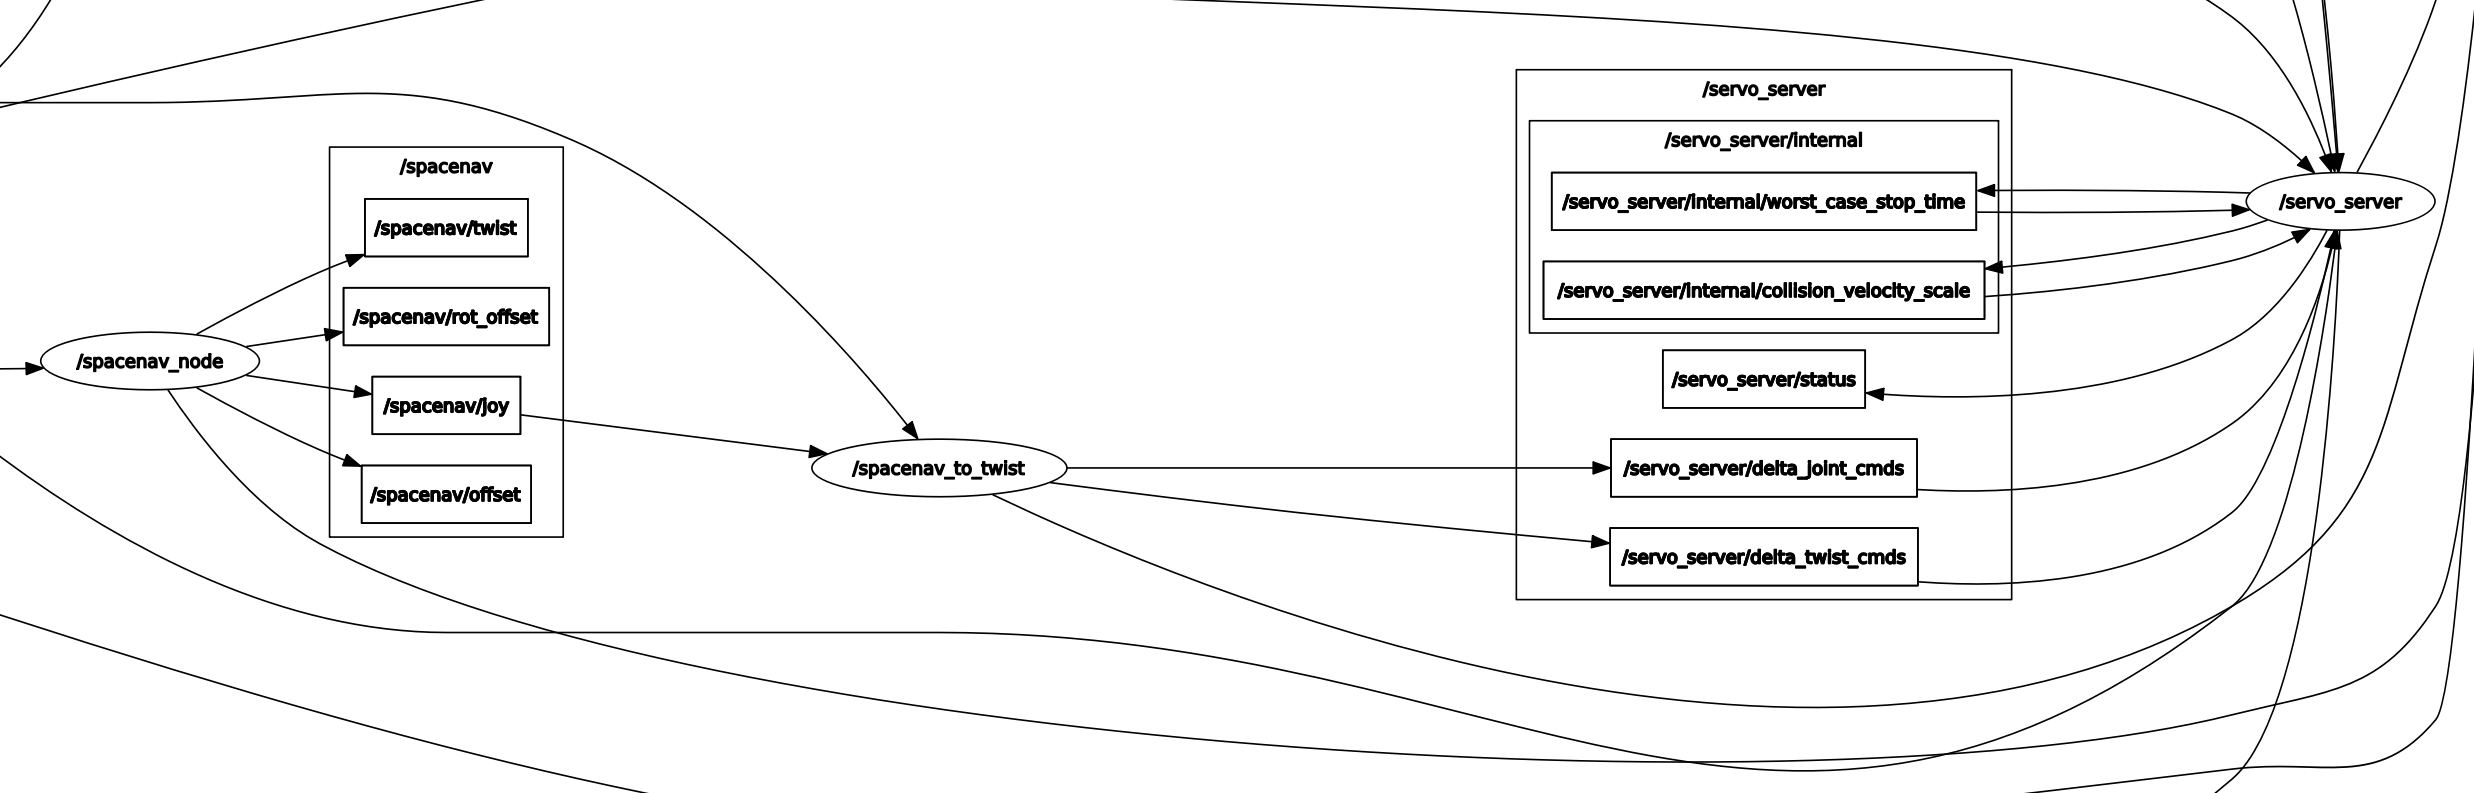
Kiến trúc MoveIt2
Các thành phần chính
MoveIt2 gồm nhiều module hoạt động phối hợp:
| Module | Chức năng |
|---|---|
| Move Group | Node trung tâm, nhận request và điều phối planning |
| Planning Scene | Quản lý mô hình 3D của robot + môi trường |
| Motion Planner | Thuật toán tìm đường (OMPL, Pilz, CHOMP) |
| Trajectory Processing | Nội suy, time parameterization, smoothing |
| Kinematics Solver | IK/FK solver (KDL, IKFast, numerical) |
| Controller Interface | Giao tiếp với hardware controller |
Luồng hoạt động
User Request (target pose)
    → Move Group nhận request
    → Planning Scene kiểm tra collision
    → Motion Planner tìm đường
    → Trajectory Processing tối ưu hóa
    → Controller Interface gửi cho robot
Bước 1: Mô tả robot với URDF
URDF là gì?
Unified Robot Description Format (URDF) là file XML mô tả hình học, khớp nối, và vật liệu của robot. Đây là input đầu tiên cho MoveIt2.
<?xml version="1.0"?>
<robot name="my_6dof_arm" xmlns:xacro="http://www.ros.org/wiki/xacro">

  <!-- Base Link -->
  <link name="base_link">
    <visual>
      <geometry>
        <cylinder radius="0.05" length="0.02"/>
      </geometry>
      <material name="grey">
        <color rgba="0.5 0.5 0.5 1"/>
      </material>
    </visual>
    <collision>
      <geometry>
        <cylinder radius="0.05" length="0.02"/>
      </geometry>
    </collision>
  </link>

  <!-- Link 1 -->
  <link name="link1">
    <visual>
      <origin xyz="0 0 0.1" rpy="0 0 0"/>
      <geometry>
        <cylinder radius="0.03" length="0.2"/>
      </geometry>
    </visual>
    <collision>
      <origin xyz="0 0 0.1" rpy="0 0 0"/>
      <geometry>
        <cylinder radius="0.035" length="0.22"/>
      </geometry>
    </collision>
    <inertial>
      <mass value="1.0"/>
      <inertia ixx="0.01" ixy="0" ixz="0"
               iyy="0.01" iyz="0" izz="0.005"/>
    </inertial>
  </link>

  <!-- Joint 1: Base rotation -->
  <joint name="joint1" type="revolute">
    <parent link="base_link"/>
    <child link="link1"/>
    <origin xyz="0 0 0.01" rpy="0 0 0"/>
    <axis xyz="0 0 1"/>
    <limit lower="-3.14" upper="3.14"
           effort="50" velocity="1.57"/>
  </joint>

  <!-- ... tương tự cho joint 2-6 ... -->

</robot>
Lưu ý quan trọng: collision geometry nên đơn giản hơn visual geometry (dùng cylinder/box thay vì mesh phức tạp) để collision checking nhanh hơn.
SRDF: Semantic Robot Description
MoveIt2 cần thêm SRDF để biết nhóm khớp (planning groups), self-collision pairs cần bỏ qua, và các pose đặc biệt:
<?xml version="1.0"?>
<robot name="my_6dof_arm">
  <!-- Planning Group -->
  <group name="arm">
    <joint name="joint1"/>
    <joint name="joint2"/>
    <joint name="joint3"/>
    <joint name="joint4"/>
    <joint name="joint5"/>
    <joint name="joint6"/>
  </group>

  <group name="gripper">
    <joint name="finger_joint_left"/>
    <joint name="finger_joint_right"/>
  </group>

  <!-- Named States -->
  <group_state name="home" group="arm">
    <joint name="joint1" value="0"/>
    <joint name="joint2" value="-1.57"/>
    <joint name="joint3" value="1.57"/>
    <joint name="joint4" value="0"/>
    <joint name="joint5" value="0"/>
    <joint name="joint6" value="0"/>
  </group_state>

  <!-- Self-collision: bỏ qua các cặp link luôn va nhau -->
  <disable_collisions link1="base_link" link2="link1" reason="Adjacent"/>
  <disable_collisions link1="link1" link2="link2" reason="Adjacent"/>
</robot>
Bước 2: MoveIt Setup Assistant
MoveIt Setup Assistant giúp tạo SRDF và config files tự động:
# Cài đặt MoveIt2 (ROS 2 Humble)
sudo apt install ros-humble-moveit

# Chạy Setup Assistant
ros2 launch moveit_setup_assistant setup_assistant.launch.py
Setup Assistant sẽ:
- Load URDF
- Tự động detect self-collision pairs
- Cho phép tạo planning groups
- Tạo named poses (home, ready, pick...)
- Export config package hoàn chỉnh

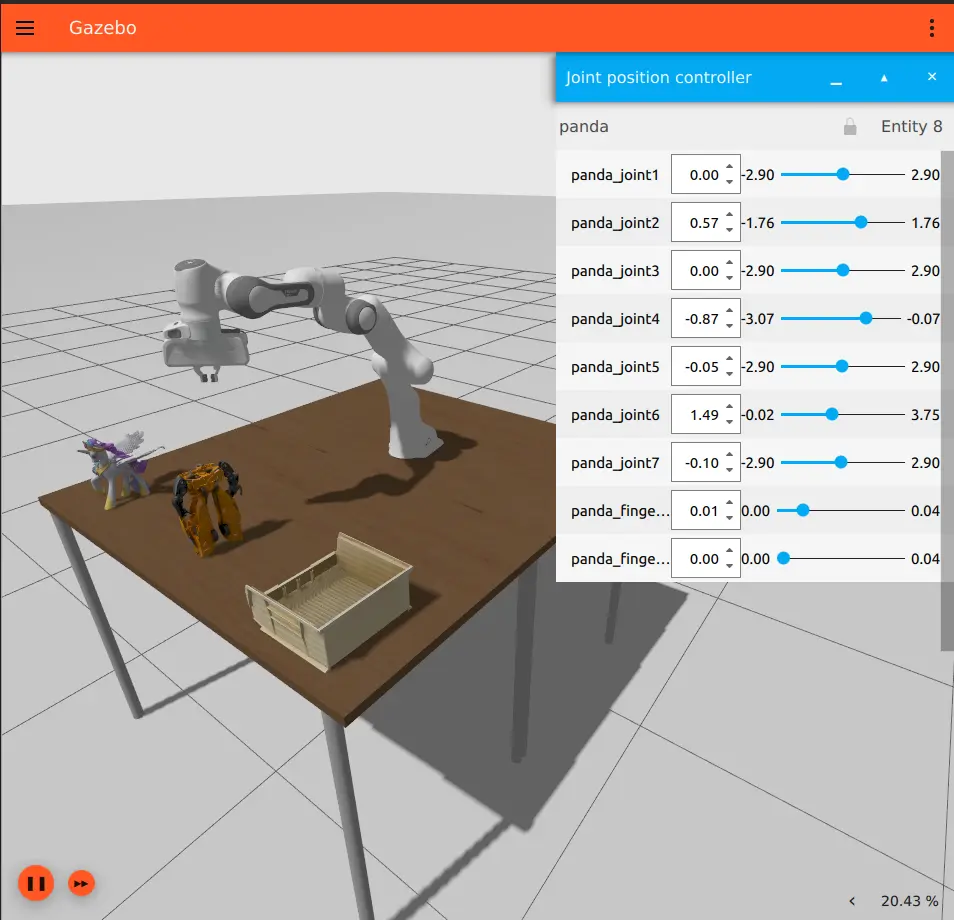
Bước 3: Planning Scene
Thêm vật cản vào môi trường
Planning Scene quản lý trạng thái 3D. Bạn cần thêm bàn, tường, hộp vào scene để motion planner tránh va chạm:
import rclpy
from rclpy.node import Node
from moveit_msgs.msg import CollisionObject, PlanningScene
from shape_msgs.msg import SolidPrimitive
from geometry_msgs.msg import Pose

class SceneManager(Node):
    def __init__(self):
        super().__init__('scene_manager')
        self.scene_pub = self.create_publisher(
            PlanningScene, '/planning_scene', 10
        )

    def add_box(self, name: str, position: list,
                dimensions: list, frame_id: str = 'base_link'):
        """Thêm hộp vào planning scene."""
        co = CollisionObject()
        co.header.frame_id = frame_id
        co.id = name
        co.operation = CollisionObject.ADD

        box = SolidPrimitive()
        box.type = SolidPrimitive.BOX
        box.dimensions = dimensions  # [x, y, z]

        pose = Pose()
        pose.position.x = position[0]
        pose.position.y = position[1]
        pose.position.z = position[2]
        pose.orientation.w = 1.0

        co.primitives.append(box)
        co.primitive_poses.append(pose)

        scene = PlanningScene()
        scene.world.collision_objects.append(co)
        scene.is_diff = True
        self.scene_pub.publish(scene)
        self.get_logger().info(f'Added collision object: {name}')

# Sử dụng
rclpy.init()
manager = SceneManager()

# Thêm bàn phía dưới robot
manager.add_box('table', [0.5, 0.0, -0.01], [1.0, 1.0, 0.02])

# Thêm hộp cản phía trước
manager.add_box('obstacle', [0.3, 0.2, 0.2], [0.1, 0.1, 0.3])
Bước 4: OMPL Motion Planners
Các thuật toán phổ biến
MoveIt2 tích hợp OMPL (Open Motion Planning Library) với nhiều thuật toán sampling-based:
| Thuật toán | Đặc điểm | Khi nào dùng |
|---|---|---|
| RRT* | Optimal, asymptotically converges | Tìm đường ngắn nhất, có thời gian |
| RRT-Connect | Nhanh, hai cây tìm kiếm | Default, đa số trường hợp |
| PRM | Precompute roadmap, query nhanh | Nhiều query cùng môi trường |
| BiTRRT | Ưu tiên vùng cost thấp | Có cost function tùy chỉnh |
| KPIECE | Tốt với không gian rộng | Robot nhiều DOF |
Cấu hình planner
# ompl_planning.yaml
planner_configs:
  RRTstar:
    type: geometric::RRTstar
    range: 0.0          # auto
    goal_bias: 0.05
    delay_collision_checking: 1

  RRTConnect:
    type: geometric::RRTConnect
    range: 0.0

  PRM:
    type: geometric::PRM
    max_nearest_neighbors: 10

arm:
  default_planner_config: RRTConnect
  planner_configs:
    - RRTstar
    - RRTConnect
    - PRM
  projection_evaluator: joints(joint1, joint2, joint3)
  longest_valid_segment_fraction: 0.005
RRT* chi tiết
Rapidly-exploring Random Tree Star (RRT*) hoạt động như sau:
- Sample một điểm ngẫu nhiên trong configuration space
- Tìm node gần nhất trong tree hiện tại
- Mở rộng tree về phía sample (kiểm tra collision trên đường đi)
- Rewire: kiểm tra xem có path tốt hơn đến các node lân cận không
- Lặp lại cho đến khi tìm được đường đến goal
Bước 4 (rewire) là điểm khác biệt so với RRT thường — nó đảm bảo path hội tụ về optimal khi số iteration tăng.
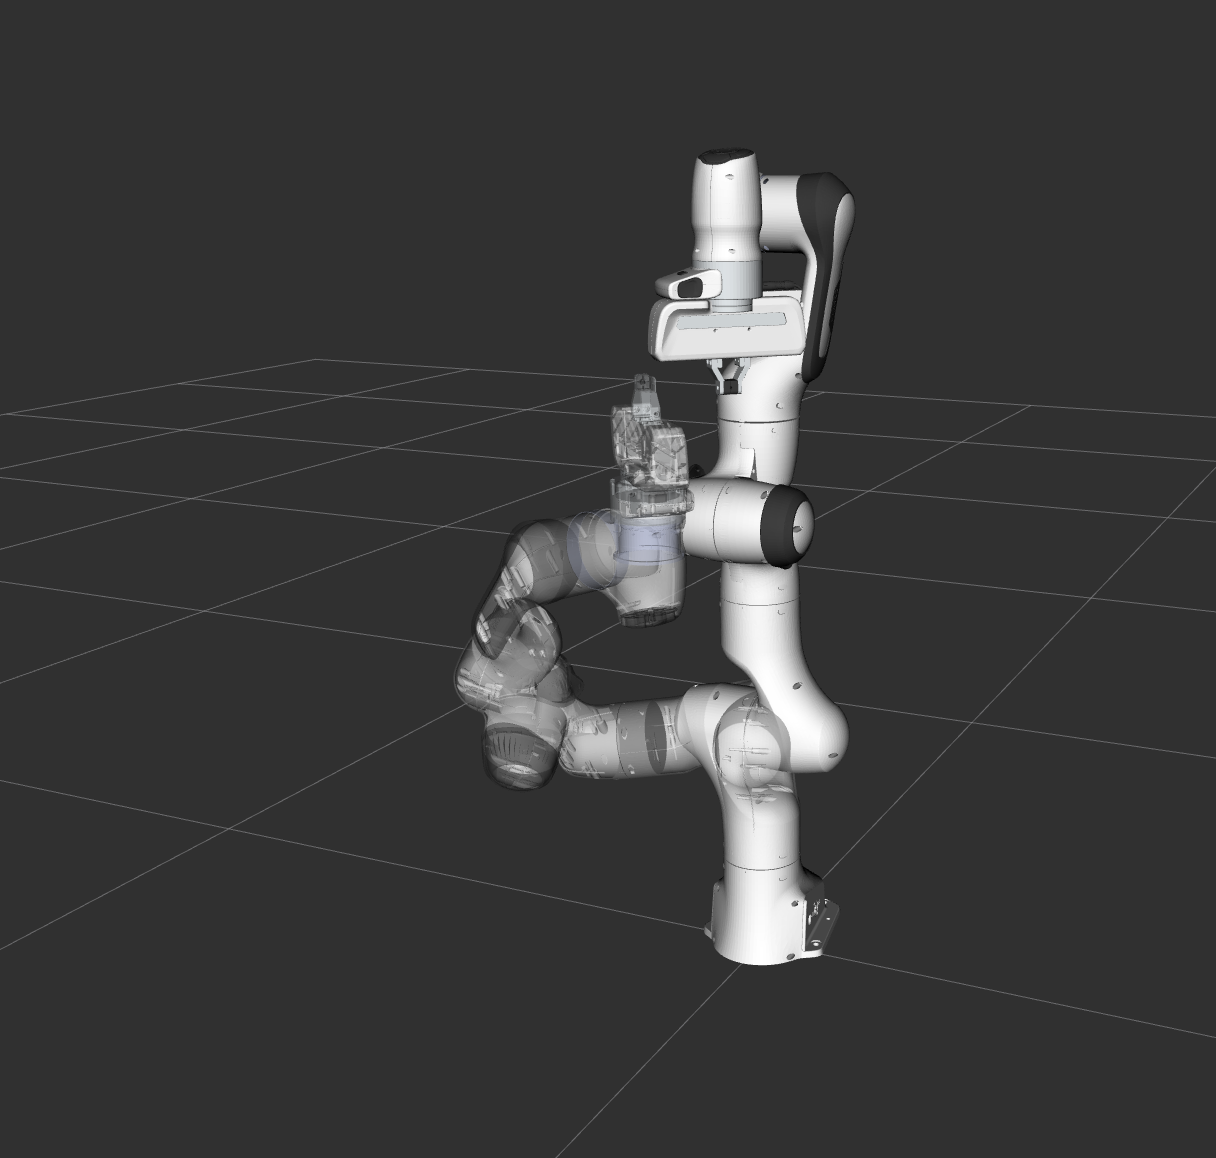
Bước 5: Python API — MoveGroupInterface
Cơ bản: di chuyển đến target pose
import rclpy
from rclpy.node import Node
from moveit2 import MoveIt2
from geometry_msgs.msg import PoseStamped
import numpy as np

class RobotController(Node):
    def __init__(self):
        super().__init__('robot_controller')

        self.moveit2 = MoveIt2(
            node=self,
            joint_names=[
                'joint1', 'joint2', 'joint3',
                'joint4', 'joint5', 'joint6'
            ],
            base_link_name='base_link',
            end_effector_name='tool0',
            group_name='arm',
        )

        # Cấu hình planning
        self.moveit2.max_velocity = 0.3        # 30% max speed
        self.moveit2.max_acceleration = 0.2
        self.moveit2.planning_time = 5.0        # 5 giây timeout
        self.moveit2.num_planning_attempts = 10  # Thử 10 lần

    def move_to_pose(self, position: list, orientation: list):
        """
        Di chuyển end-effector đến pose mong muốn.
        position: [x, y, z] (mét)
        orientation: [qx, qy, qz, qw] (quaternion)
        """
        self.get_logger().info(
            f'Planning to position: {position}'
        )

        self.moveit2.move_to_pose(
            position=position,
            quat_xyzw=orientation,
        )
        self.moveit2.wait_until_executed()

        self.get_logger().info('Motion complete!')

    def move_to_joint_angles(self, angles: list):
        """Di chuyển đến bộ góc khớp cụ thể."""
        self.moveit2.move_to_configuration(angles)
        self.moveit2.wait_until_executed()

    def move_home(self):
        """Về vị trí home."""
        home = [0.0, -1.57, 1.57, 0.0, 0.0, 0.0]
        self.move_to_joint_angles(home)

# Main
rclpy.init()
controller = RobotController()

# Di chuyển đến vị trí phía trước robot
controller.move_to_pose(
    position=[0.4, 0.0, 0.3],
    orientation=[0.0, 0.707, 0.0, 0.707]  # hướng xuống
)
Cartesian Path Planning
Khi cần end-effector đi theo đường thẳng (ví dụ: vẽ, hàn, cắt):
def plan_cartesian_path(self, waypoints: list, step_size=0.01):
    """
    Lập kế hoạch đường Cartesian qua nhiều waypoints.
    waypoints: list of [x, y, z] positions
    step_size: khoảng cách nội suy (mét)
    """
    from geometry_msgs.msg import Pose
    pose_waypoints = []

    for wp in waypoints:
        pose = Pose()
        pose.position.x = wp[0]
        pose.position.y = wp[1]
        pose.position.z = wp[2]
        # Giữ nguyên orientation hiện tại
        pose.orientation.x = 0.0
        pose.orientation.y = 0.707
        pose.orientation.z = 0.0
        pose.orientation.w = 0.707
        pose_waypoints.append(pose)

    # Plan Cartesian path
    trajectory, fraction = self.moveit2.compute_cartesian_path(
        waypoints=pose_waypoints,
        max_step=step_size,
        avoid_collisions=True
    )

    self.get_logger().info(
        f'Cartesian path: {fraction*100:.1f}% achievable'
    )

    if fraction > 0.95:  # Chấp nhận nếu > 95% đường đi khả thi
        self.moveit2.execute(trajectory)
        return True
    return False

Ví dụ thực tế: Pick and Place
Kịch bản phổ biến nhất trong công nghiệp — gắp vật từ vị trí A đặt sang vị trí B:
class PickAndPlace(RobotController):
    def __init__(self):
        super().__init__()
        # Gripper controller
        self.gripper = MoveIt2(
            node=self,
            joint_names=['finger_joint_left', 'finger_joint_right'],
            base_link_name='base_link',
            end_effector_name='gripper_tip',
            group_name='gripper',
        )

    def open_gripper(self):
        self.gripper.move_to_configuration([0.04, 0.04])
        self.gripper.wait_until_executed()

    def close_gripper(self):
        self.gripper.move_to_configuration([0.01, 0.01])
        self.gripper.wait_until_executed()

    def pick(self, object_position: list, approach_height=0.1):
        """
        Gắp vật thể tại vị trí cho trước.
        1. Di chuyển phía trên vật
        2. Hạ xuống
        3. Đóng gripper
        4. Nâng lên
        """
        x, y, z = object_position
        orientation = [0.0, 0.707, 0.0, 0.707]  # hướng xuống

        self.get_logger().info(f'Picking at [{x}, {y}, {z}]')

        # Approach: phía trên vật
        self.open_gripper()
        self.move_to_pose([x, y, z + approach_height], orientation)

        # Hạ xuống (Cartesian path để đi thẳng)
        self.plan_cartesian_path([
            [x, y, z + approach_height],
            [x, y, z + 0.01],  # 1cm trên mặt vật
        ])

        # Gắp
        self.close_gripper()

        # Nâng lên
        self.plan_cartesian_path([
            [x, y, z + 0.01],
            [x, y, z + approach_height],
        ])

    def place(self, target_position: list, approach_height=0.1):
        """Đặt vật tại vị trí mới."""
        x, y, z = target_position
        orientation = [0.0, 0.707, 0.0, 0.707]

        self.get_logger().info(f'Placing at [{x}, {y}, {z}]')

        # Di chuyển phía trên target
        self.move_to_pose([x, y, z + approach_height], orientation)

        # Hạ xuống
        self.plan_cartesian_path([
            [x, y, z + approach_height],
            [x, y, z + 0.01],
        ])

        # Thả
        self.open_gripper()

        # Rút lên
        self.plan_cartesian_path([
            [x, y, z + 0.01],
            [x, y, z + approach_height],
        ])

    def execute_pick_and_place(self, pick_pos, place_pos):
        """Pipeline hoàn chỉnh."""
        self.move_home()
        self.pick(pick_pos)
        self.place(place_pos)
        self.move_home()
        self.get_logger().info('Pick and place complete!')

# Sử dụng
rclpy.init()
pnp = PickAndPlace()
pnp.execute_pick_and_place(
    pick_pos=[0.4, -0.2, 0.02],   # Vật nằm trên bàn
    place_pos=[0.4, 0.2, 0.02],   # Đặt sang bên phải
)
Debugging và tips thực tế
1. Visualize trong RViz2
Luôn chạy RViz2 song song để xem planning scene, trajectory, và collision objects:
ros2 launch my_robot_moveit demo.launch.py
2. Kiểm tra IK solver
Nếu MoveIt2 thường xuyên fail planning, vấn đề có thể ở IK solver:
# Kiểm tra IK solver có tìm được nghiệm không
result = self.moveit2.compute_ik(
    position=[0.4, 0.0, 0.3],
    quat_xyzw=[0.0, 0.707, 0.0, 0.707]
)
if result is None:
    print("IK solver failed — target có thể ngoài workspace")
3. Tăng planning time cho môi trường phức tạp
# Môi trường nhiều vật cản cần thời gian planning lâu hơn
self.moveit2.planning_time = 15.0       # 15 giây
self.moveit2.num_planning_attempts = 20  # 20 lần thử
4. Chọn planner phù hợp
# RRTConnect cho speed (default)
self.moveit2.planner_id = 'RRTConnect'

# RRT* khi cần path quality
self.moveit2.planner_id = 'RRTstar'

# PRM khi planning nhiều lần trong cùng scene
self.moveit2.planner_id = 'PRM'
Kết luận
MoveIt2 biến bài toán motion planning phức tạp thành vài dòng Python API. Pipeline chuẩn:
- URDF/SRDF mô tả robot
- Setup Assistant tạo config
- Planning Scene mô tả môi trường
- Move Group lập kế hoạch và thực thi
Nếu bạn muốn hiểu sâu hơn về thuật toán IK phía dưới MoveIt2, hãy đọc bài Inverse Kinematics robot arm 6 bậc với Python code chạy từ đầu. Và nếu bạn mới bắt đầu với ROS 2, bài Giới thiệu ROS 2 sẽ giúp bạn setup workspace đầu tiên.