Deploy YOLOv8 lên Jetson Orin Nano — Tại sao lại quan trọng?
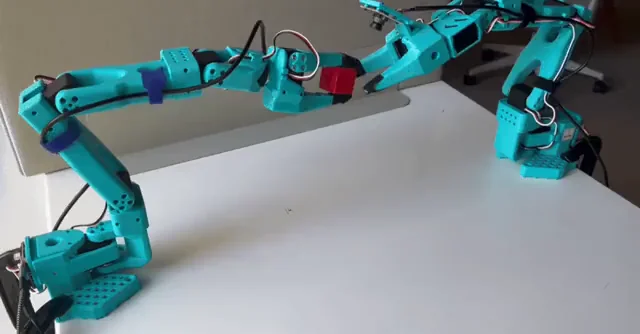
Deploy YOLOv8 lên Jetson Orin Nano là bước quyết định để đưa AI perception từ laptop vào robot thật. Nếu bạn đang build robot di động, drone, hoặc hệ thống kiểm tra chất lượng, bạn cần inference real-time ngay trên edge device — không thể chờ round-trip tới cloud 200ms mỗi frame.
Trong bài này, mình sẽ đi từ A đến Z: chuẩn bị hardware, export model, tối ưu TensorRT, build camera pipeline với GStreamer, và cuối cùng wrap thành ROS 2 node sẵn sàng chạy trên robot.

Prerequisites — Bạn cần gì?
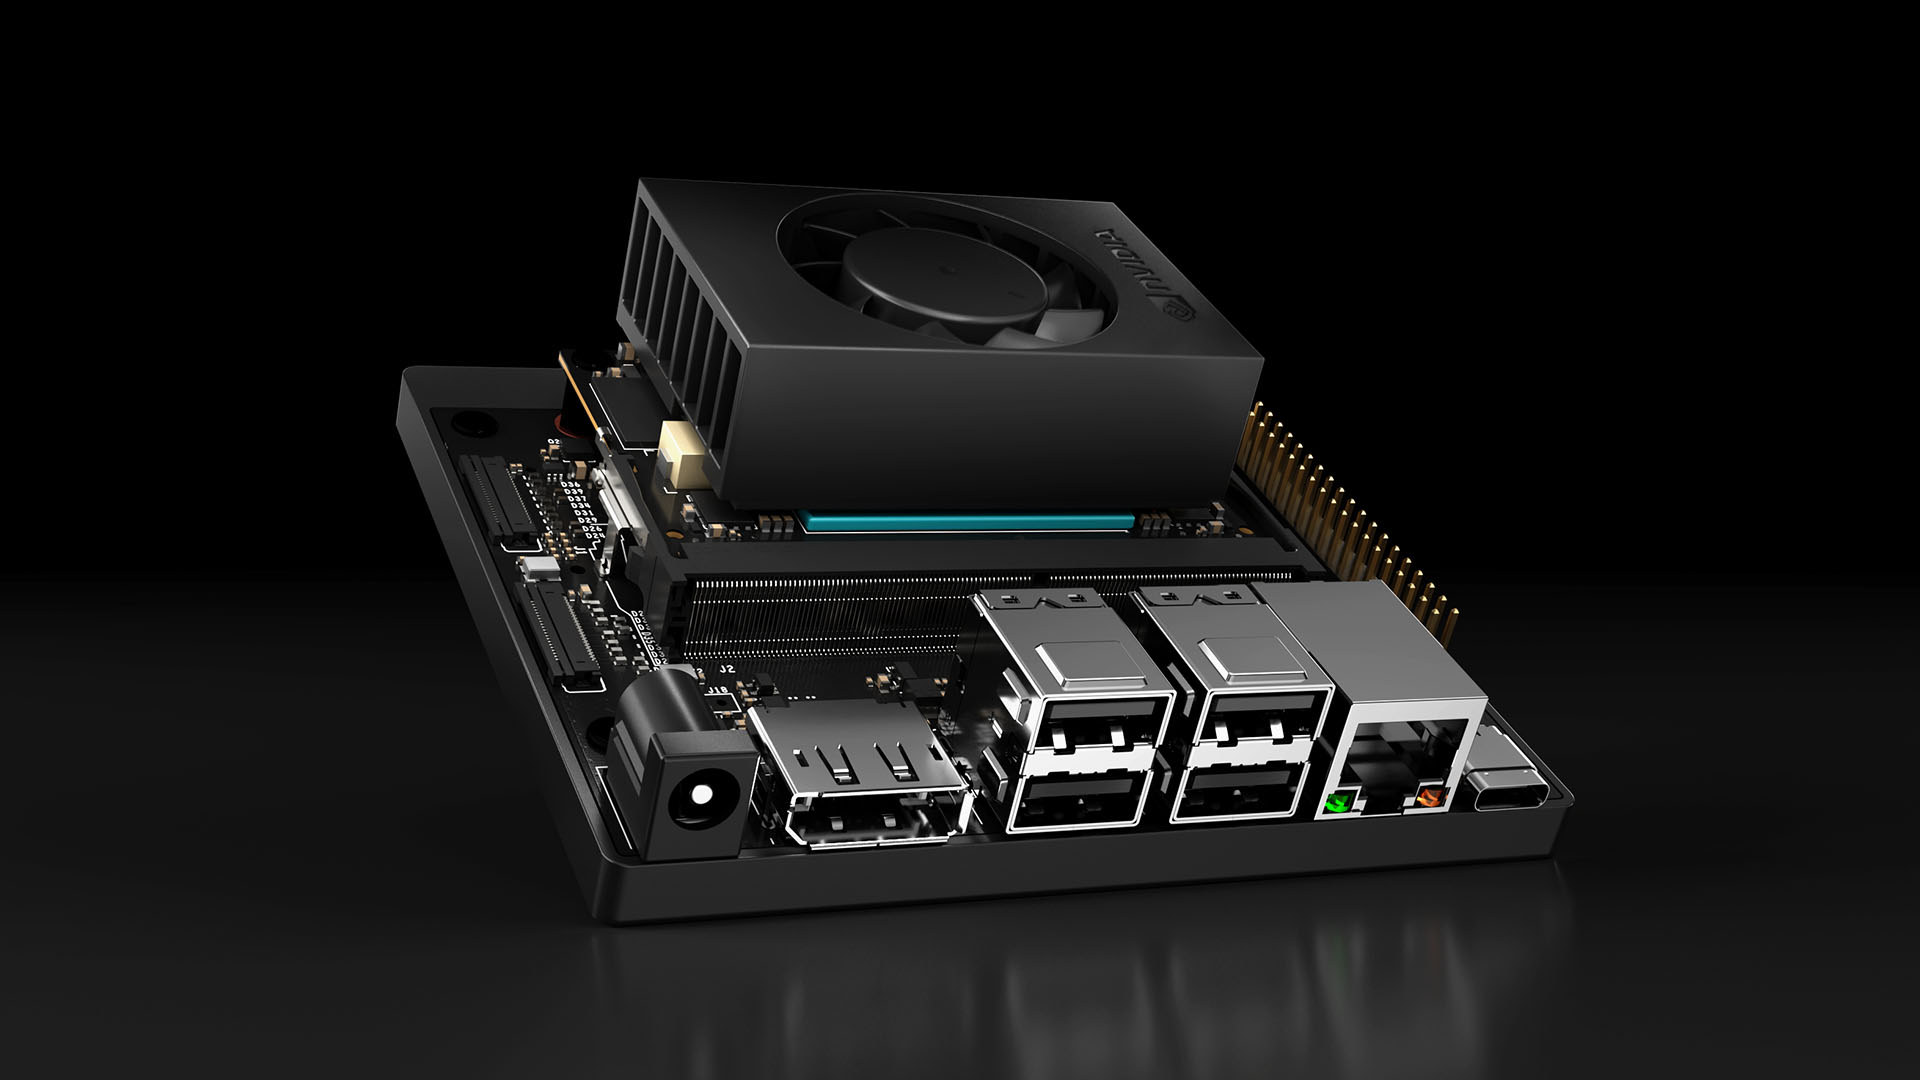
Hardware
| Thiết bị | Ghi chú |
|---|---|
| NVIDIA Jetson Orin Nano 8GB | Developer Kit hoặc module + carrier board |
| MicroSD 64GB+ (UHS-I) | Hoặc NVMe SSD cho performance tốt hơn |
| USB camera hoặc CSI camera | Logitech C920 hoặc IMX219 CSI |
| Nguồn 5V/4A USB-C | Đi kèm Dev Kit |
Software
- JetPack 6.0+ (L4T R36.x) — bao gồm CUDA 12.2, cuDNN 8.9, TensorRT 8.6
- Python 3.10+
- Ultralytics (YOLOv8 framework)
# Cài JetPack (nếu chưa flash)
sudo apt update && sudo apt install -y nvidia-jetpack

# Verify CUDA
nvcc --version
# cuda_12.2.r12.2/compiler.33191640_0

# Cài Ultralytics
pip3 install ultralytics

# Verify PyTorch + CUDA
python3 -c "import torch; print(f'CUDA: {torch.cuda.is_available()}, Device: {torch.cuda.get_device_name(0)}')"
# CUDA: True, Device: Orin (nvgpu)
Bước 1: Export YOLOv8 sang TensorRT Engine
Đây là bước quan trọng nhất. TensorRT sẽ tối ưu model cho GPU Ampere trên Orin Nano, bao gồm layer fusion, kernel auto-tuning, và precision calibration.
Export FP16 (khuyến nghị)
from ultralytics import YOLO

# Load pretrained model (hoặc model bạn đã train custom)
model = YOLO("yolov8n.pt")  # nano version, tối ưu cho edge

# Export sang TensorRT FP16
# Quá trình này mất 5-10 phút trên Orin Nano
model.export(
    format="engine",
    device=0,
    half=True,        # FP16 precision
    imgsz=640,        # Input resolution
    workspace=4,      # GB workspace cho TensorRT optimizer
    verbose=True
)
print("Export xong! File: yolov8n.engine")
Export INT8 (maximum FPS)
INT8 cần calibration dataset — một tập 200-500 ảnh đại diện cho data thực tế:
from ultralytics import YOLO

model = YOLO("yolov8n.pt")

# Export INT8 với calibration
model.export(
    format="engine",
    device=0,
    int8=True,
    data="coco128.yaml",  # Dataset cho calibration
    imgsz=640,
    workspace=4
)
Lưu ý quan trọng: File .engine được build riêng cho từng GPU architecture. Engine build trên Orin Nano không chạy được trên RTX 4090 và ngược lại. Luôn export trực tiếp trên target device.
Bước 2: Benchmark — FP32 vs FP16 vs INT8
Mình đã benchmark trên Jetson Orin Nano 8GB, power mode MAXN (15W), jetson_clocks enabled:
| Format | Model | FPS (640x640) | Latency | mAP@50 | GPU Memory |
|---|---|---|---|---|---|
| PyTorch FP32 | yolov8n | 15 FPS | 67ms | 37.3 | 1.2GB |
| TensorRT FP32 | yolov8n | 32 FPS | 31ms | 37.3 | 680MB |
| TensorRT FP16 | yolov8n | 58 FPS | 17ms | 37.2 | 420MB |
| TensorRT INT8 | yolov8n | 72 FPS | 14ms | 36.8 | 310MB |
| PyTorch FP32 | yolov8s | 8 FPS | 125ms | 44.9 | 2.1GB |
| TensorRT FP16 | yolov8s | 35 FPS | 29ms | 44.8 | 780MB |
Kết luận: FP16 là sweet spot — tăng gần 4x so với PyTorch mà gần như không mất accuracy. INT8 chỉ nên dùng khi cần >60 FPS hoặc chạy nhiều model cùng lúc.
# Benchmark nhanh trên Jetson
yolo benchmark model=yolov8n.engine imgsz=640 half=True device=0
Bước 3: Python Inference Script hoàn chỉnh
"""
YOLOv8 TensorRT Inference trên Jetson Orin Nano
Tối ưu cho real-time robot perception
"""
import cv2
import time
import numpy as np
from ultralytics import YOLO
from collections import deque

class JetsonDetector:
    def __init__(self, model_path: str = "yolov8n.engine", conf: float = 0.5):
        self.model = YOLO(model_path)
        self.conf = conf
        self.fps_buffer = deque(maxlen=30)

    def detect(self, frame: np.ndarray) -> list[dict]:
        """Detect objects và trả về list of detections."""
        start = time.perf_counter()

        results = self.model.predict(
            frame,
            conf=self.conf,
            verbose=False,
            half=True
        )

        elapsed = time.perf_counter() - start
        self.fps_buffer.append(1.0 / elapsed)

        detections = []
        for box in results[0].boxes:
            det = {
                "class_id": int(box.cls[0]),
                "class_name": results[0].names[int(box.cls[0])],
                "confidence": float(box.conf[0]),
                "bbox": box.xyxy[0].cpu().numpy().tolist(),  # [x1, y1, x2, y2]
            }
            detections.append(det)

        return detections

    @property
    def fps(self) -> float:
        return np.mean(self.fps_buffer) if self.fps_buffer else 0.0


# --- Main ---
if __name__ == "__main__":
    detector = JetsonDetector("yolov8n.engine", conf=0.45)
    cap = cv2.VideoCapture(0)
    cap.set(cv2.CAP_PROP_FRAME_WIDTH, 1280)
    cap.set(cv2.CAP_PROP_FRAME_HEIGHT, 720)

    while True:
        ret, frame = cap.read()
        if not ret:
            break

        detections = detector.detect(frame)

        # Vẽ bounding boxes
        for det in detections:
            x1, y1, x2, y2 = map(int, det["bbox"])
            label = f'{det["class_name"]} {det["confidence"]:.2f}'
            cv2.rectangle(frame, (x1, y1), (x2, y2), (0, 255, 0), 2)
            cv2.putText(frame, label, (x1, y1 - 10),
                        cv2.FONT_HERSHEY_SIMPLEX, 0.6, (0, 255, 0), 2)

        # FPS overlay
        cv2.putText(frame, f"FPS: {detector.fps:.1f}", (10, 30),
                     cv2.FONT_HERSHEY_SIMPLEX, 1, (0, 0, 255), 2)

        cv2.imshow("YOLOv8 Jetson", frame)
        if cv2.waitKey(1) & 0xFF == ord('q'):
            break

    cap.release()
    cv2.destroyAllWindows()
Bước 4: Camera Pipeline với GStreamer
USB camera qua OpenCV hoạt động, nhưng CSI camera cần GStreamer pipeline để decode hardware-accelerated trên Jetson. Đây cũng là cách tối ưu nhất cho cả USB camera.
CSI Camera (IMX219/IMX477)
def gstreamer_pipeline(
    sensor_id=0,
    capture_width=1280,
    capture_height=720,
    display_width=1280,
    display_height=720,
    framerate=60,
    flip_method=0,
):
    """Build GStreamer pipeline string cho CSI camera trên Jetson."""
    return (
        f"nvarguscamerasrc sensor-id={sensor_id} ! "
        f"video/x-raw(memory:NVMM), width=(int){capture_width}, "
        f"height=(int){capture_height}, framerate=(fraction){framerate}/1 ! "
        f"nvvidconv flip-method={flip_method} ! "
        f"video/x-raw, width=(int){display_width}, height=(int){display_height}, "
        f"format=(string)BGRx ! videoconvert ! "
        f"video/x-raw, format=(string)BGR ! appsink drop=1"
    )

# Sử dụng
cap = cv2.VideoCapture(gstreamer_pipeline(), cv2.CAP_GSTREAMER)
USB Camera (tối ưu với V4L2)
def usb_gstreamer_pipeline(device="/dev/video0", width=1280, height=720, fps=30):
    """GStreamer pipeline cho USB camera, decode trên GPU."""
    return (
        f"v4l2src device={device} ! "
        f"video/x-raw, width={width}, height={height}, framerate={fps}/1 ! "
        f"videoconvert ! video/x-raw, format=BGR ! appsink drop=1"
    )

cap = cv2.VideoCapture(usb_gstreamer_pipeline(), cv2.CAP_GSTREAMER)
Multi-camera setup
# Chạy 2 camera song song
cap_left = cv2.VideoCapture(gstreamer_pipeline(sensor_id=0), cv2.CAP_GSTREAMER)
cap_right = cv2.VideoCapture(gstreamer_pipeline(sensor_id=1), cv2.CAP_GSTREAMER)

# Hoặc dùng threading để không block
import threading

class CameraThread:
    def __init__(self, pipeline):
        self.cap = cv2.VideoCapture(pipeline, cv2.CAP_GSTREAMER)
        self.frame = None
        self.running = True
        self.thread = threading.Thread(target=self._update, daemon=True)
        self.thread.start()

    def _update(self):
        while self.running:
            ret, self.frame = self.cap.read()

    def read(self):
        return self.frame

    def stop(self):
        self.running = False
        self.cap.release()

Bước 5: Deploy thành ROS 2 Node
Đây là phần cuối — wrap detector thành ROS 2 node để integrate vào robot stack.
"""
ROS 2 YOLOv8 Detection Node cho Jetson Orin Nano
Publish detections lên topic /yolo/detections
"""
import rclpy
from rclpy.node import Node
from sensor_msgs.msg import Image
from vision_msgs.msg import Detection2DArray, Detection2D, ObjectHypothesisWithPose
from cv_bridge import CvBridge
import cv2
import numpy as np
from ultralytics import YOLO


class YoloDetectionNode(Node):
    def __init__(self):
        super().__init__("yolo_detection_node")

        # Parameters
        self.declare_parameter("model_path", "yolov8n.engine")
        self.declare_parameter("confidence", 0.5)
        self.declare_parameter("input_topic", "/camera/image_raw")

        model_path = self.get_parameter("model_path").value
        self.conf = self.get_parameter("confidence").value
        input_topic = self.get_parameter("input_topic").value

        # Load TensorRT model
        self.model = YOLO(model_path)
        self.bridge = CvBridge()

        # Subscriber & Publisher
        self.sub = self.create_subscription(
            Image, input_topic, self.image_callback, 10
        )
        self.pub = self.create_publisher(Detection2DArray, "/yolo/detections", 10)
        self.img_pub = self.create_publisher(Image, "/yolo/annotated", 10)

        self.get_logger().info(
            f"YOLOv8 node started — model: {model_path}, conf: {self.conf}"
        )

    def image_callback(self, msg: Image):
        # Convert ROS Image → OpenCV
        frame = self.bridge.imgmsg_to_cv2(msg, "bgr8")

        # Inference
        results = self.model.predict(frame, conf=self.conf, verbose=False, half=True)

        # Build Detection2DArray message
        det_array = Detection2DArray()
        det_array.header = msg.header

        for box in results[0].boxes:
            det = Detection2D()
            x1, y1, x2, y2 = box.xyxy[0].cpu().numpy()

            # Bounding box (center + size format)
            det.bbox.center.position.x = float((x1 + x2) / 2)
            det.bbox.center.position.y = float((y1 + y2) / 2)
            det.bbox.size_x = float(x2 - x1)
            det.bbox.size_y = float(y2 - y1)

            # Classification result
            hyp = ObjectHypothesisWithPose()
            hyp.hypothesis.class_id = str(int(box.cls[0]))
            hyp.hypothesis.score = float(box.conf[0])
            det.results.append(hyp)

            det_array.detections.append(det)

        self.pub.publish(det_array)

        # Publish annotated image (optional, cho visualization)
        annotated = results[0].plot()
        self.img_pub.publish(self.bridge.cv2_to_imgmsg(annotated, "bgr8"))


def main(args=None):
    rclpy.init(args=args)
    node = YoloDetectionNode()
    rclpy.spin(node)
    node.destroy_node()
    rclpy.shutdown()


if __name__ == "__main__":
    main()
Launch file
# launch/yolo_detection.launch.py
from launch import LaunchDescription
from launch_ros.actions import Node

def generate_launch_description():
    return LaunchDescription([
        Node(
            package="yolo_perception",
            executable="yolo_node",
            name="yolo_detection",
            parameters=[{
                "model_path": "/opt/models/yolov8n.engine",
                "confidence": 0.5,
                "input_topic": "/camera/image_raw",
            }],
            output="screen",
        ),
    ])
# Build và chạy
cd ~/ros2_ws
colcon build --packages-select yolo_perception
source install/setup.bash
ros2 launch yolo_perception yolo_detection.launch.py
Tips tối ưu thêm
Power management
# MAXN mode (15W) — hiệu năng cao nhất
sudo nvpmodel -m 0
sudo jetson_clocks

# Kiểm tra nhiệt độ (throttle ở 80°C)
cat /sys/devices/virtual/thermal/thermal_zone*/temp
# Chia cho 1000 để ra °C
Pre-process trên GPU
# Dùng cv2.cuda thay vì CPU resize
gpu_frame = cv2.cuda_GpuMat()
gpu_frame.upload(frame)
gpu_resized = cv2.cuda.resize(gpu_frame, (640, 640))
frame_resized = gpu_resized.download()
Monitor resource usage
# Jetson stats — tương tự htop nhưng cho Jetson
pip3 install jetson-stats
jtop
Tổng kết
Pipeline hoàn chỉnh: Camera → GStreamer → YOLOv8 TensorRT → ROS 2 topic — tất cả chạy ở 58+ FPS trên Jetson Orin Nano 8GB với FP16. Đủ nhanh cho robot di động, drone, và hệ thống kiểm tra công nghiệp.
Key takeaways:
- Luôn dùng TensorRT FP16 làm baseline — đây là mặc định tốt nhất
- GStreamer pipeline cho CSI camera — decode trên hardware, không tốn CPU
- ROS 2 node để integrate vào robot stack — publish Detection2DArray chuẩn
- Monitor nhiệt độ — Jetson throttle ở 80°C, cần tản nhiệt tốt
Bài viết liên quan
- Edge AI với NVIDIA Jetson: Triển khai AI trên thiết bị nhúng — Tổng quan dòng Jetson và tối ưu TensorRT
- Computer Vision trong kiểm tra chất lượng công nghiệp — Ứng dụng YOLO trong sản xuất
- Giới thiệu ROS 2 cho người mới bắt đầu — Nền tảng ROS 2 để hiểu phần ROS node